
.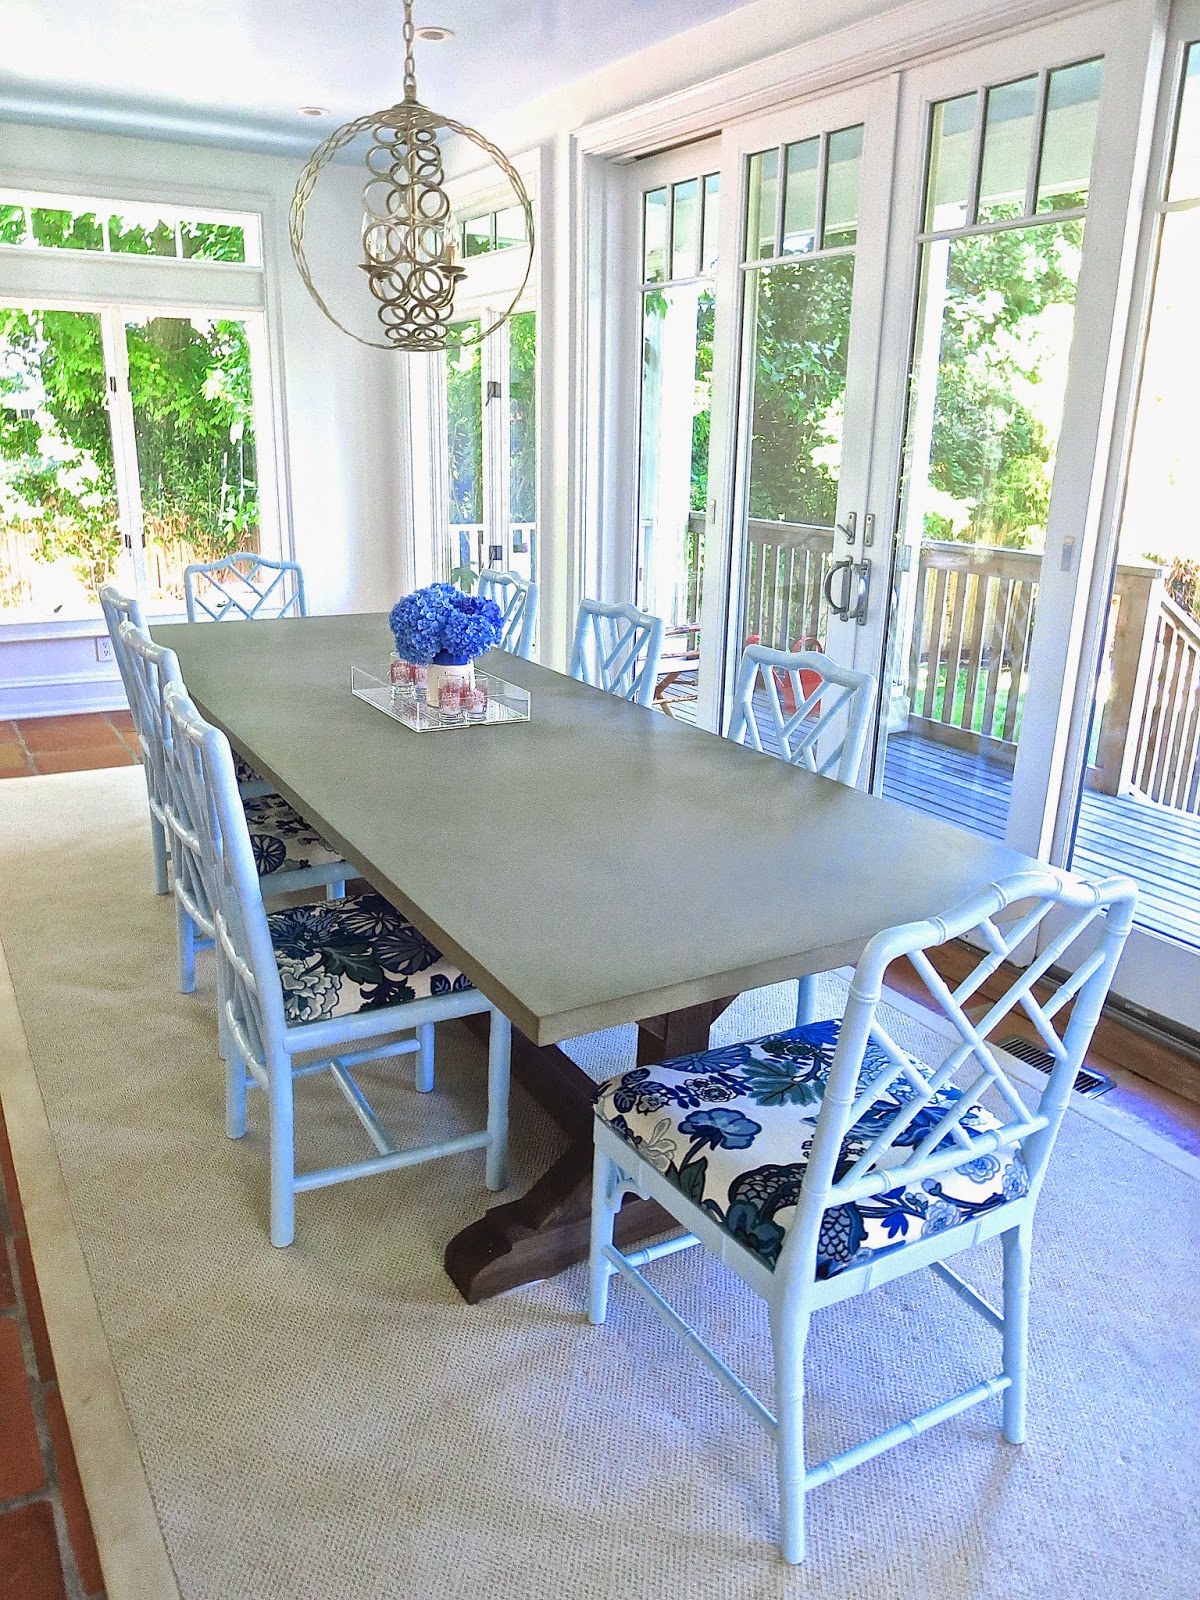 |
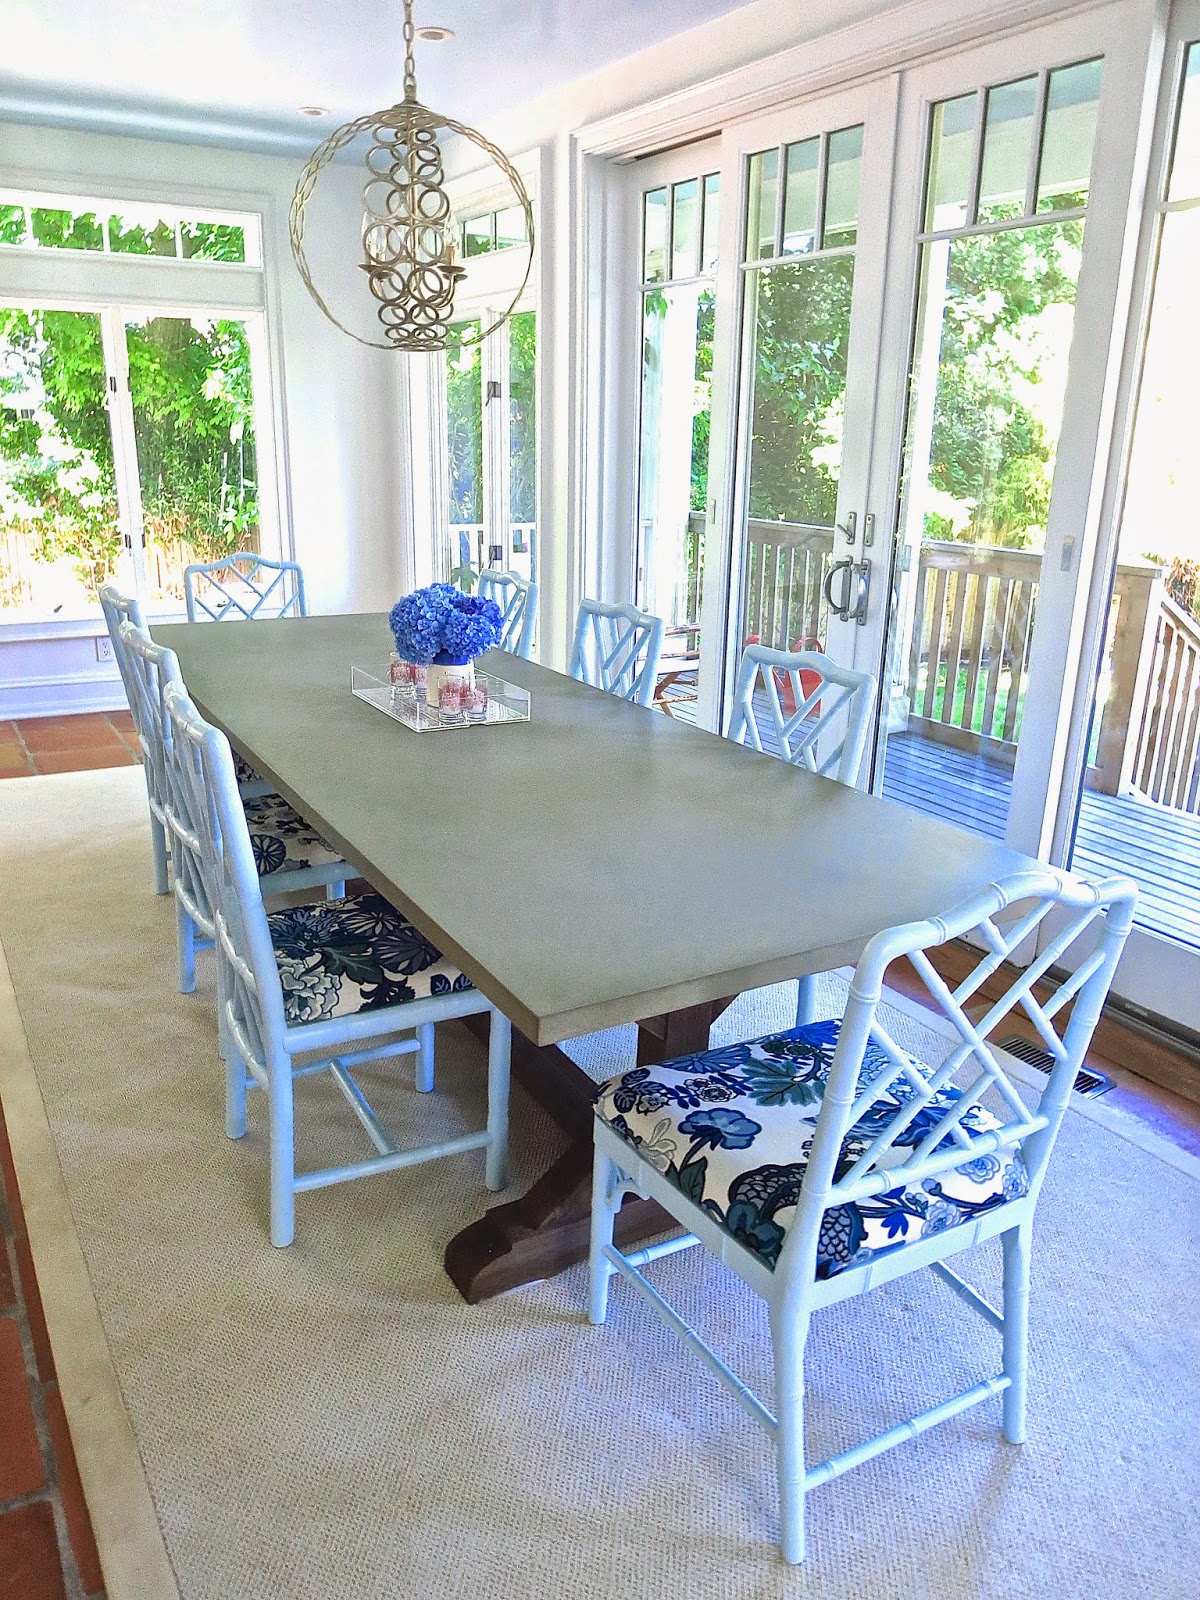
| AM’s dining room table and 8 light blue chippendale chairs in East Hampton (above) |
I was visiting my best friend AM and her hubby JE in the tony town of East Hampton for the long holiday weekend. She surprised me with the project of transforming her dining room chairs.
Within about 5 hours of my arriving on the morning of the 4th of July at their new home there, AM announced “You and I have a project to do. We are going to recover the seats of all of the dining room chairs.” I looked at AM confused and dazed…this was the same woman who once told me, “I don’t DIY” in response to me pointing out a possible “do it yourself” project involving some cement tiles. In this instance, AM had a clear resolve on her face…I’ve seen that look before…if AM says something is going to happen…it is going to happen! AM’s husband overheard her making the proclamation about us taking on a DIY project and encouragingly smiled. I told AM I had never upholstered a dining chair seat cushion…she said she hadn’t either. I sat with that for a moment but then I reckoned if other people could figure out how to do this type of project…so could she and I!
Dining Room Chairs Cosmetic Facelift
The good news was that we were not planning on totally rebuilding the seat cushions and using batting and foam etc…our project merely involve giving AM’s lovely light blue Chippendale chair seats a minor cosmetic facelift.
The Bad News
Uh the bad news was that neither AM nor I had used a staple gun before…EVER. After an “I Love Lucy” 15 minutes of the two of us studying the directions and loading the staple gun incorrectly at least 5 times. I finally closed my eyes and had an epiphany on where the staples were supposed to go and then I quickly became the resident expert on loading the gun. (P.S. I had to remind AM on staple gun safety a few times as she was waving the gun around while chit-chatting…I even ran out of the room a few times in fear for my life…after a bit of admonishing and me screaming bloody murder, AM got her staple gun safety under control quite quickly too.)
The Beginning of the DIY Project
So with our tools in hand, fabric in place and after watching one guy on YouTube reupholster some dining room seat cushions, we were off and running (I would like to point out that AM refused to watch the YouTube guy…I watched him and kept saying “Well the guy didn’t do it that way…well the guy just cut off all of the fabric….well the guy….”)!
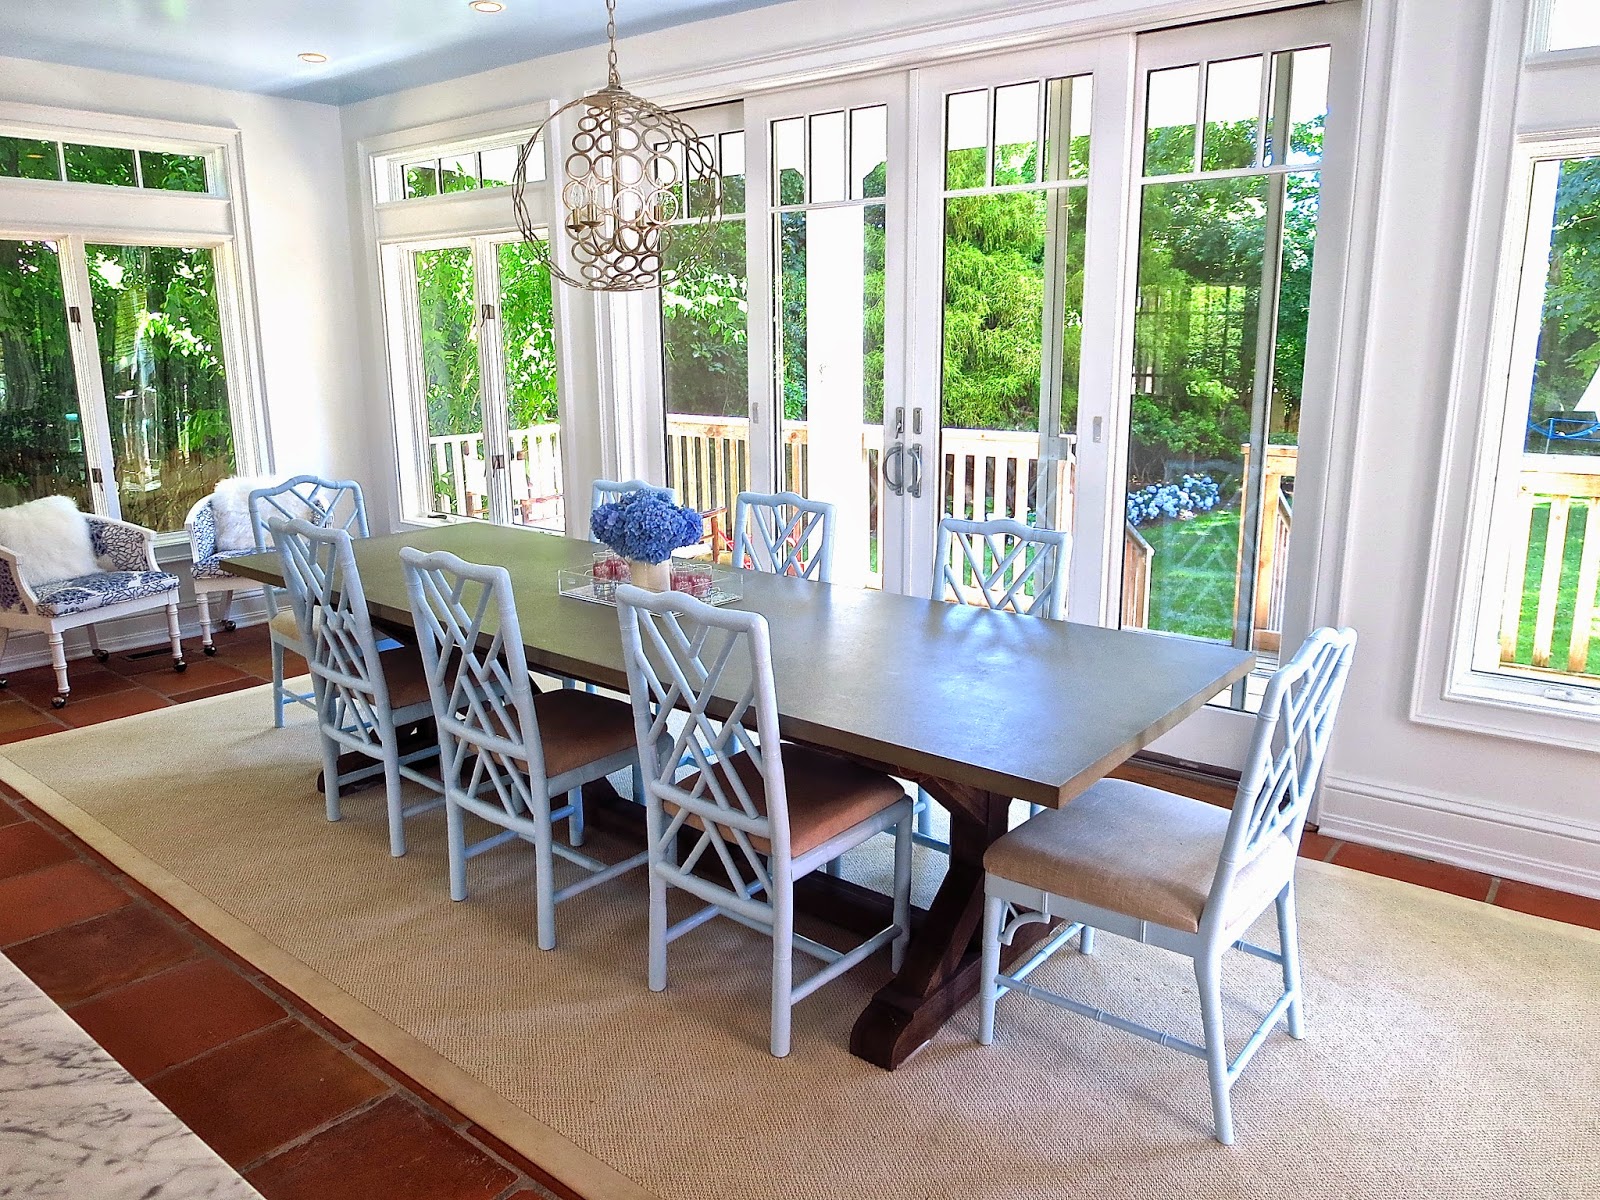 |
| Before – The seats of AM’s chippendale dining chairs were covered in a solid color neutral linen (above) |
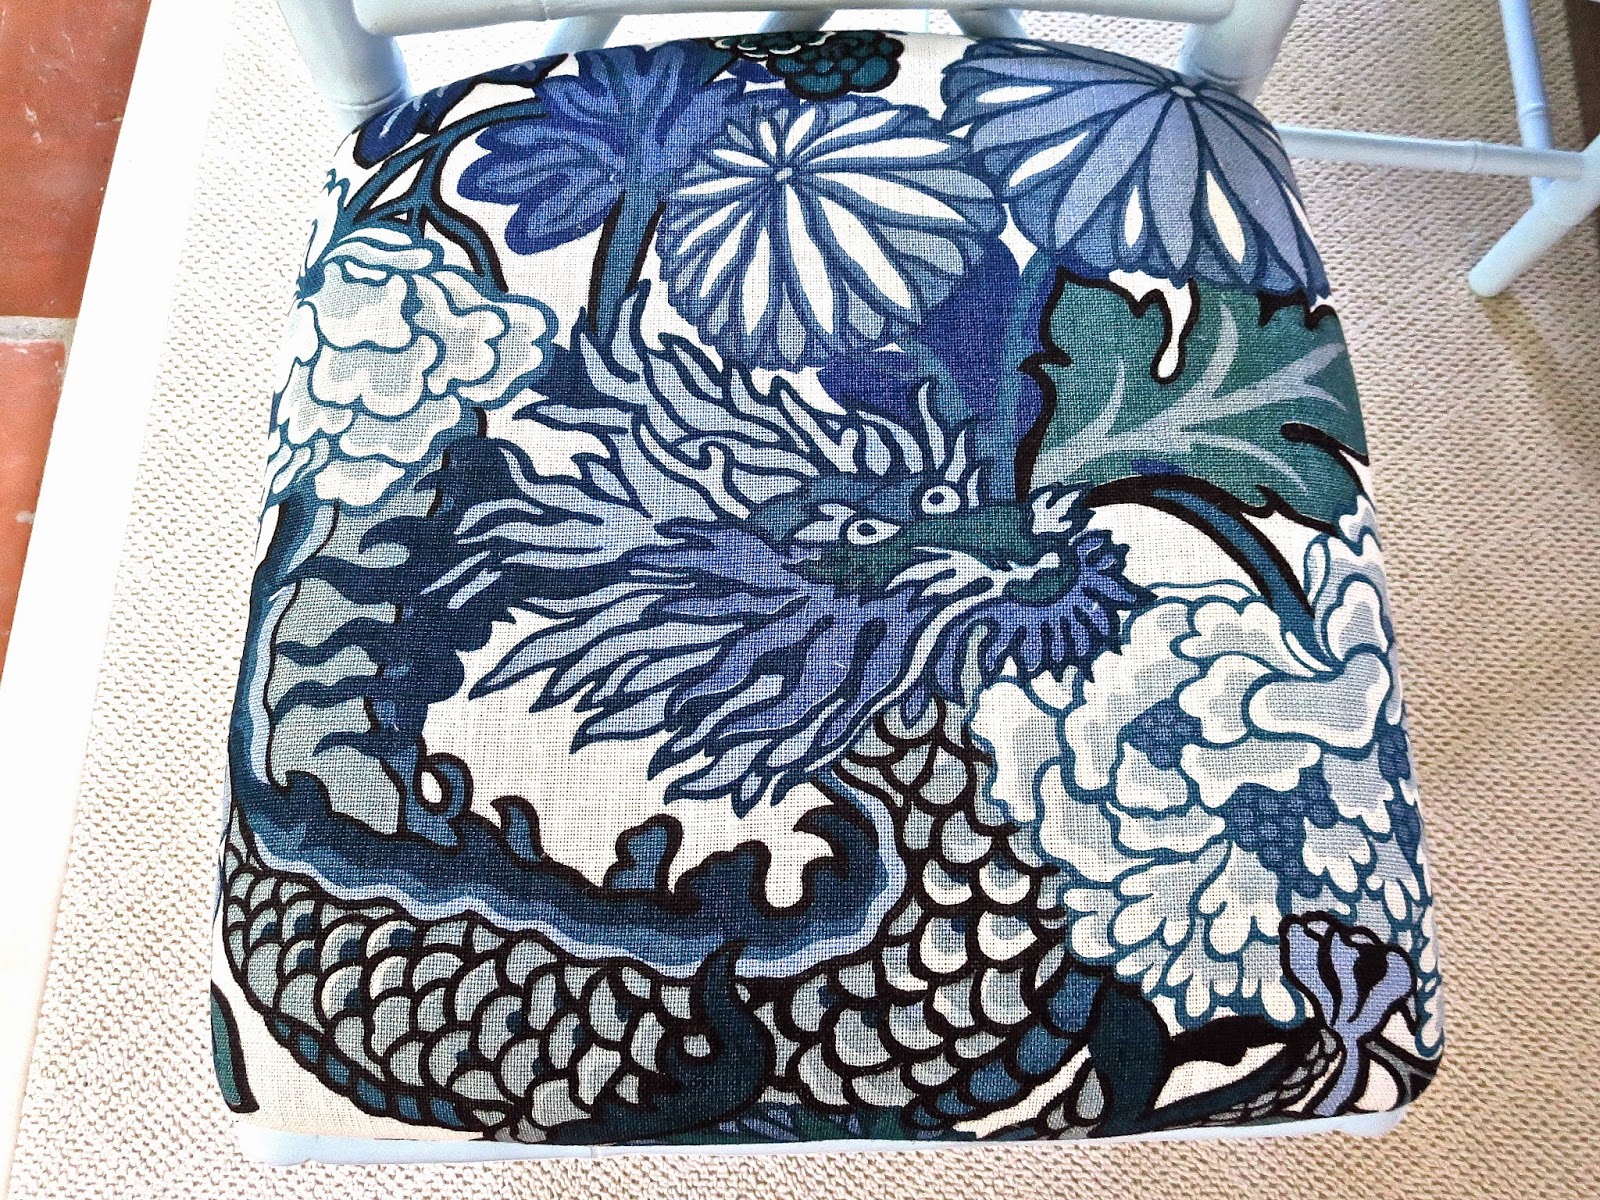 |
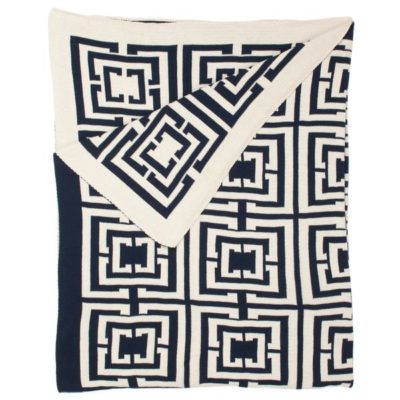
| GOAL – was to cover every dining room chair cushion in this blue very famous Schumacher fabric named Chiang Mai Dragon! (above) |
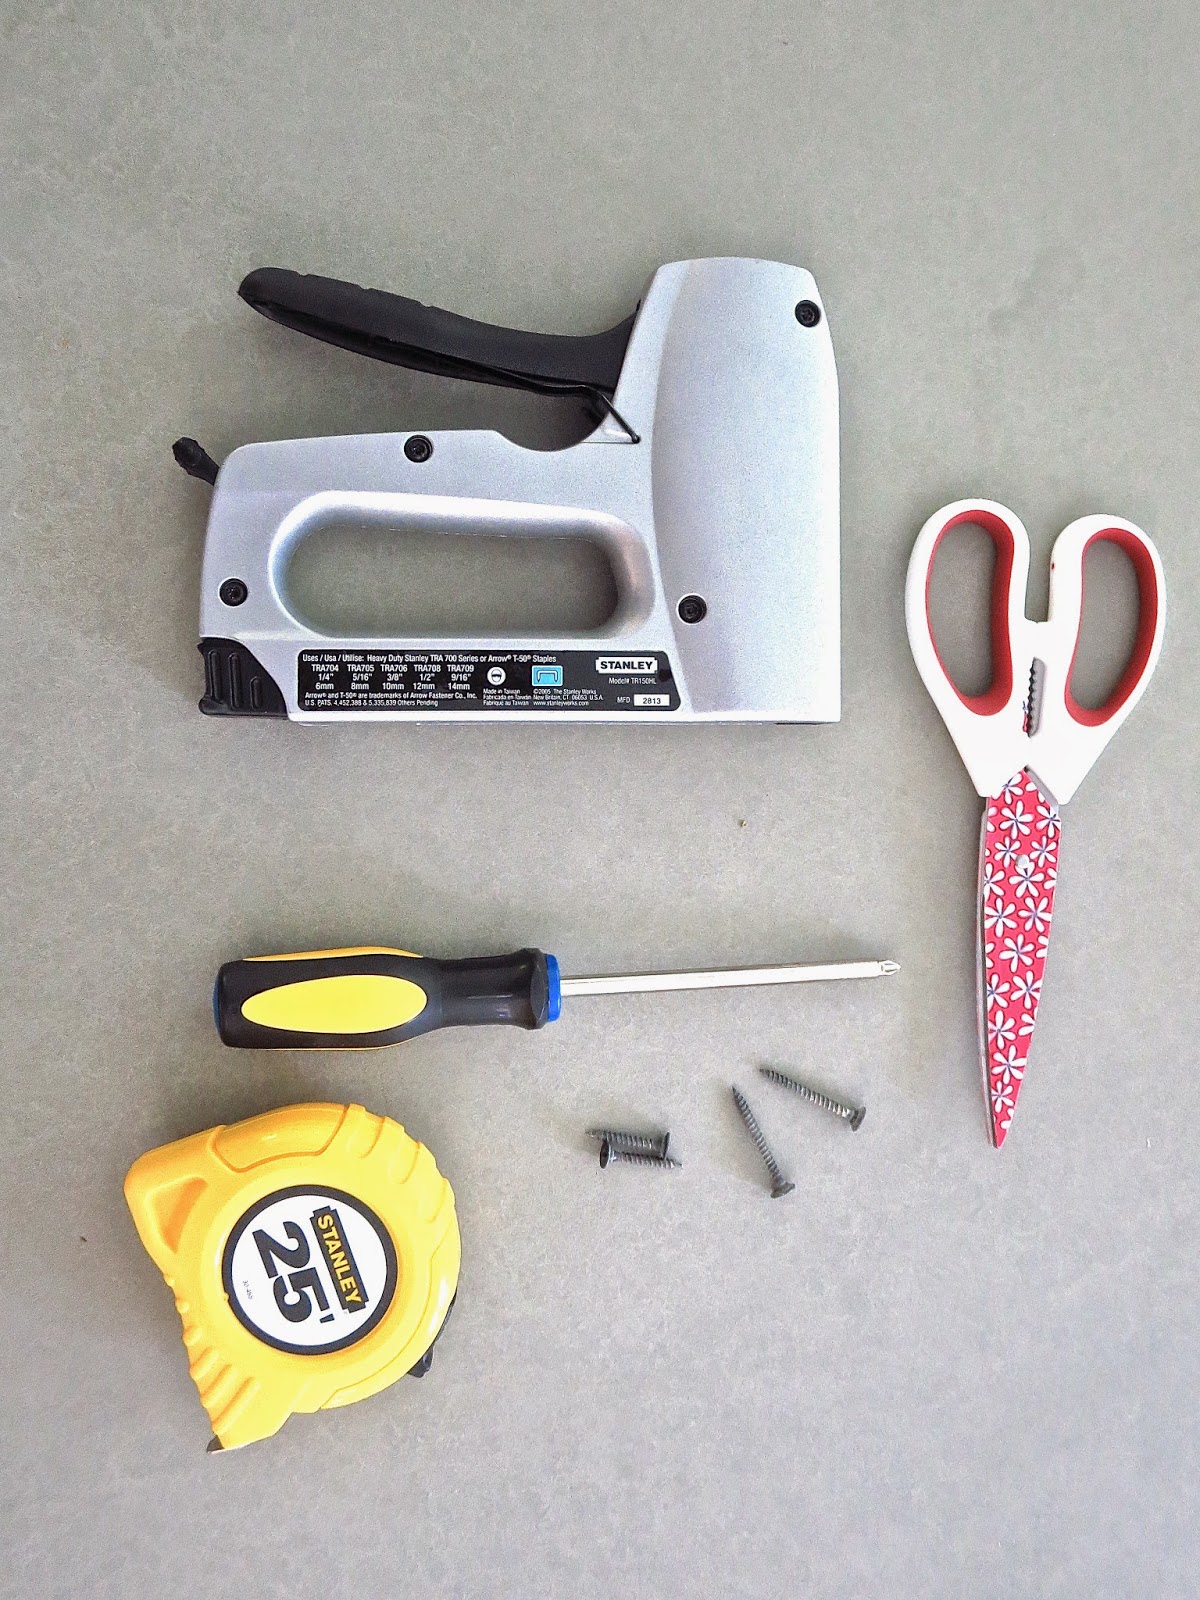
STEP 1 – GATHER YOUR TOOLS
A staple gun, scissors, a screwdriver, measuring tape, a hammer and some screws is all we needed.
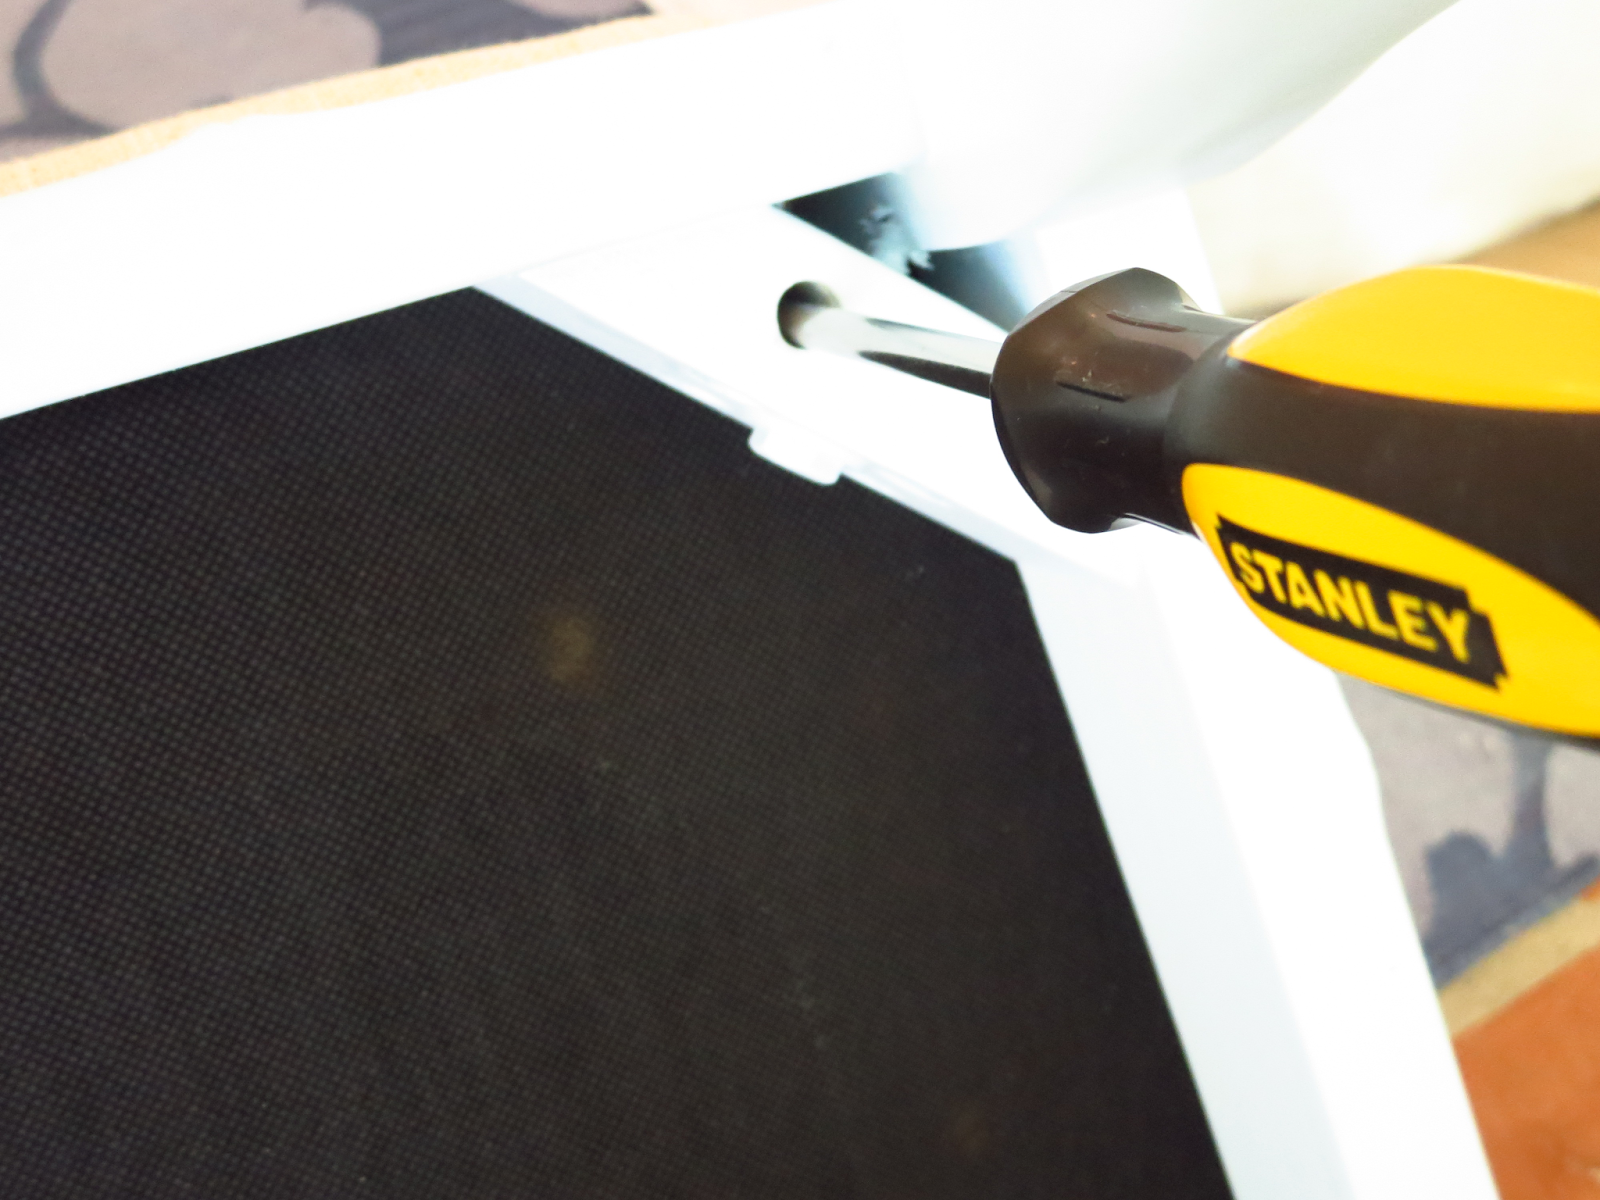
STEP 2 – POP OUT DINING CHAIR SEATS
It was my job to flip over every chair and unscrew anywhere from 4-6 screws to allow us to pop out the seat cushions.
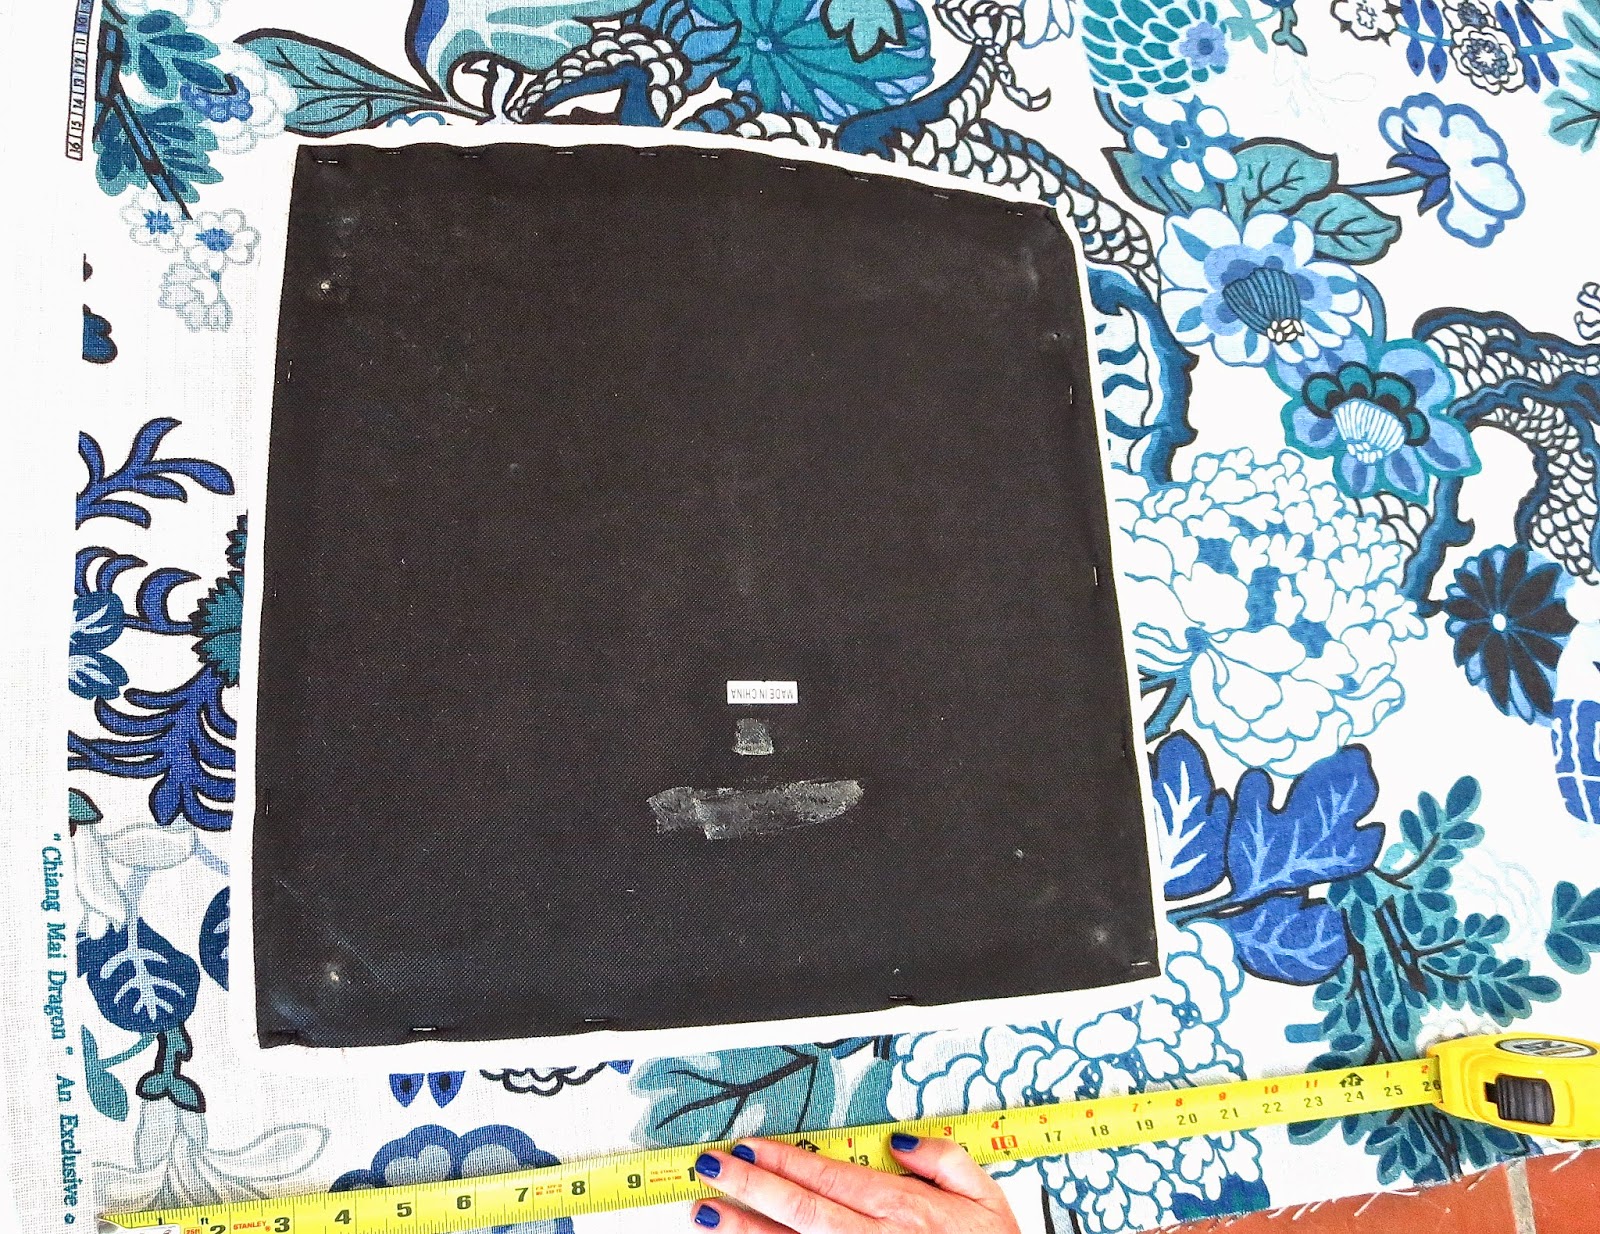
STEP 3 – MEASURE YOUR FABRIC
We had just 2 yards of fabric of this very beautiful expensive linen Chiang Mai Dragon print fabric in blue (fabric is about $200 per yard so measuring accurately was key). So after testing out one chair seat, AM carefully measured out how much fabric we would need for each seat. We basically allowed for about 3 inches of fabric
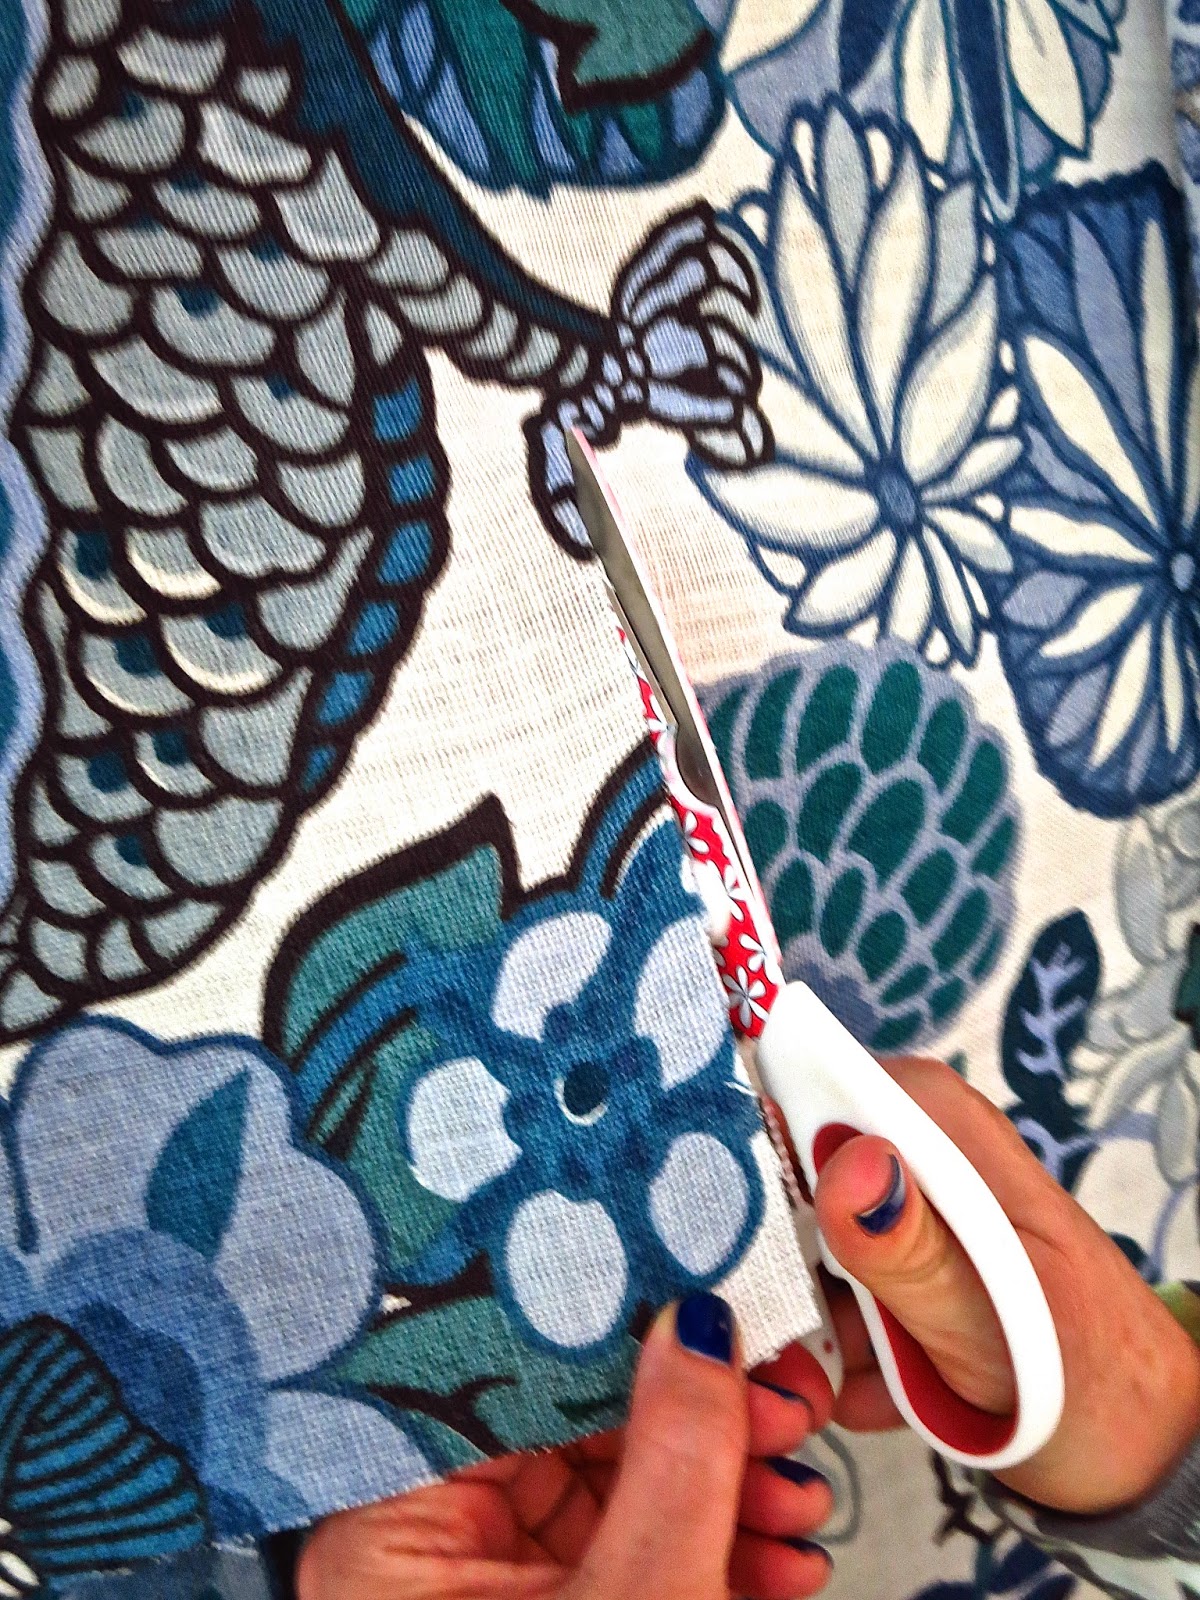
STEP 4 – CUT FABRIC
STEP 5 – STAPLE FABRIC
We had a learning curve on using the staple gun here…but after chair 2 we got down our processes. Because the linen was snagging a little, we made sure to create a hem of sorts with the fabric and then stapled along the edge of the fold. Corners were tricky but we figured out a system of folding fabric and stapling so it was as flat as possible. AM took the lead on the stapling.
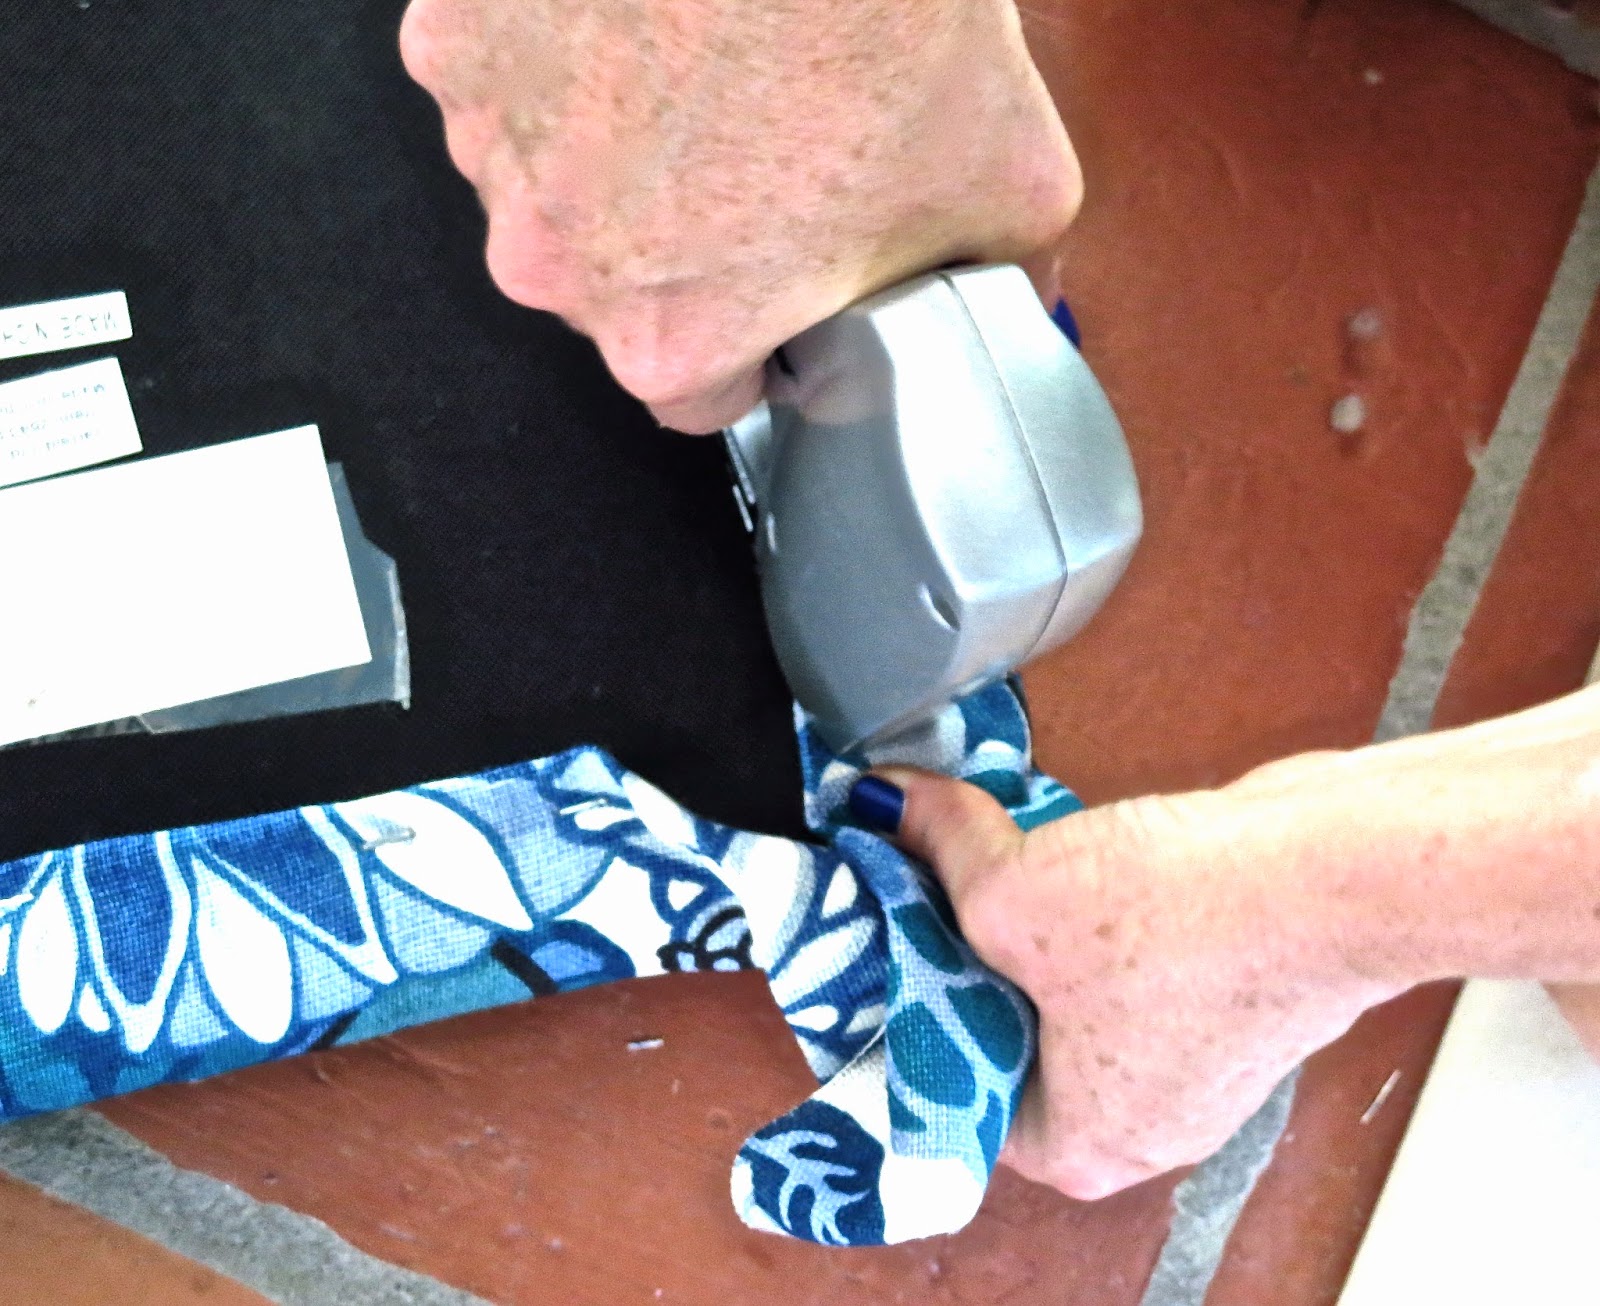
STEP 6 – CUT THE CORNERS
Was my job to cut the excess fabric off the corner
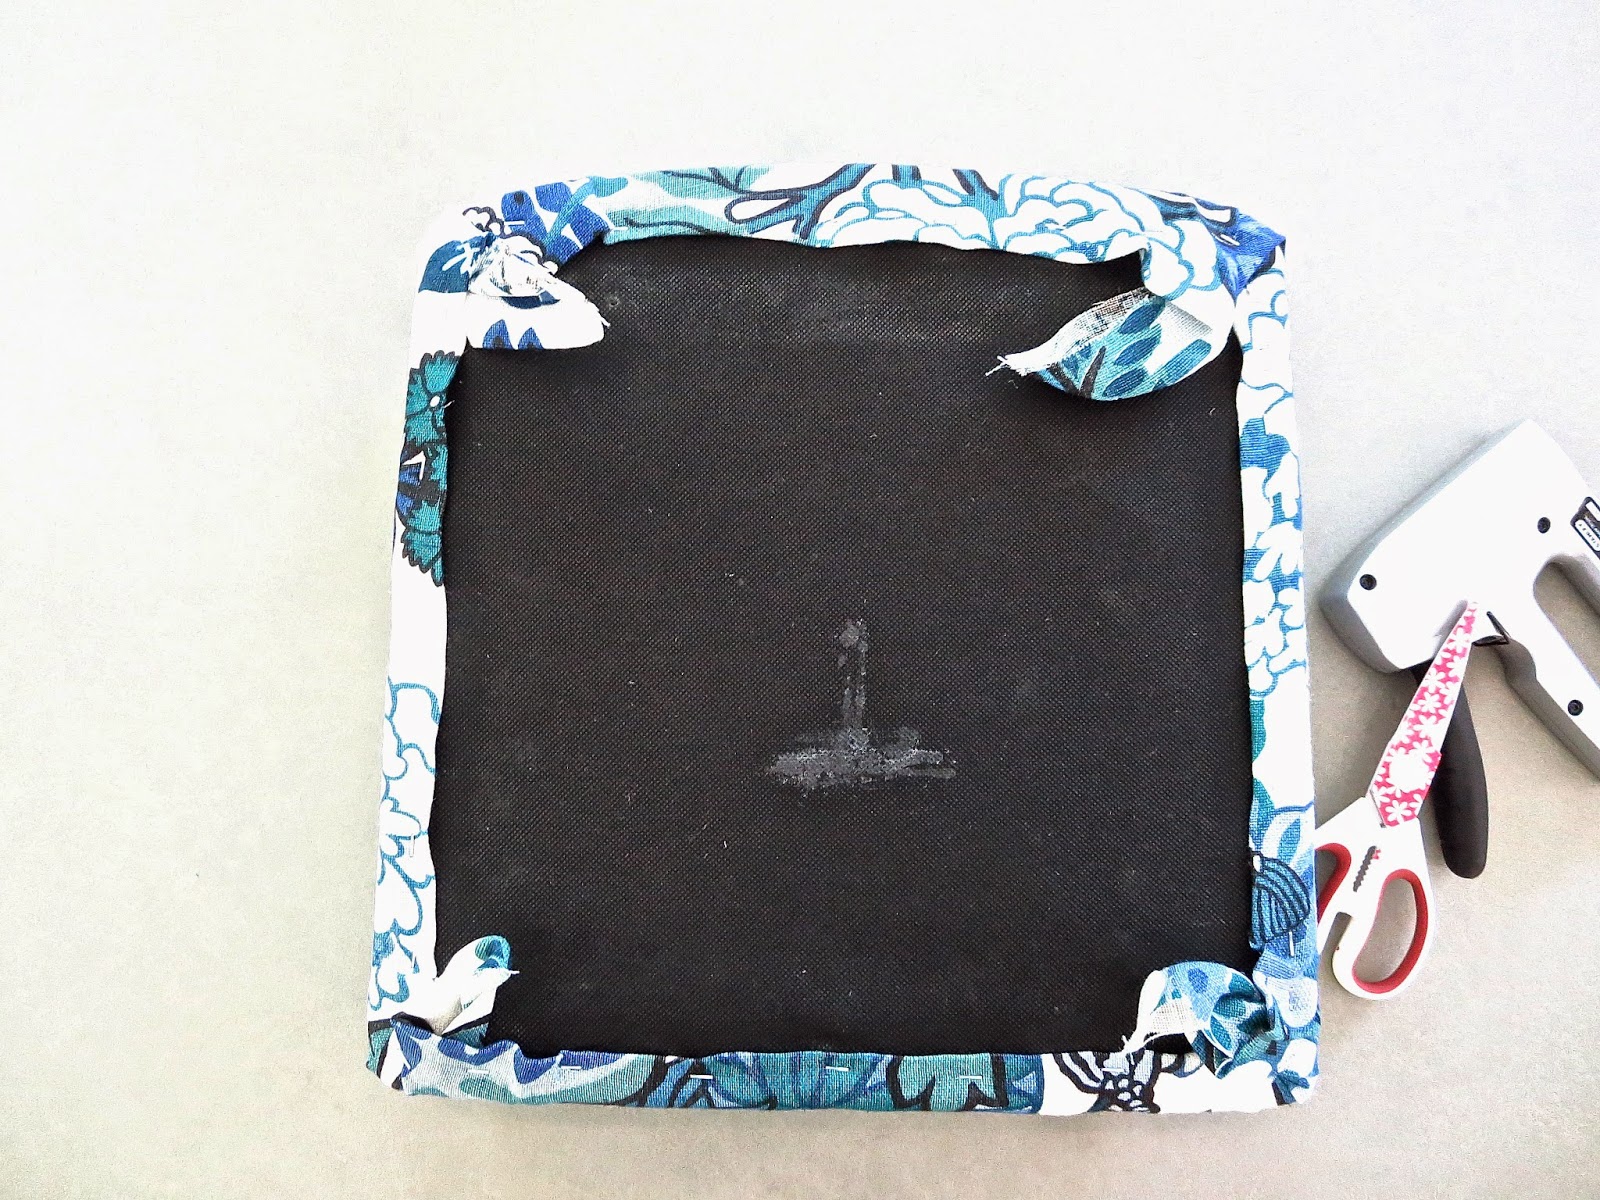
STEP 7 – SCREW SEAT CUSHIONS BACK
I was pretty efficient with my screwingso after we finished stapling (AM was better than me with the staple gun admittedly), I screed all seat cushions back into their respective chairs. Had to be careful though…in a few instances, the very sharp wood screws was causing the fabric to pull so I just loosened the screw so that we wouldn’t have a run in the fabric.
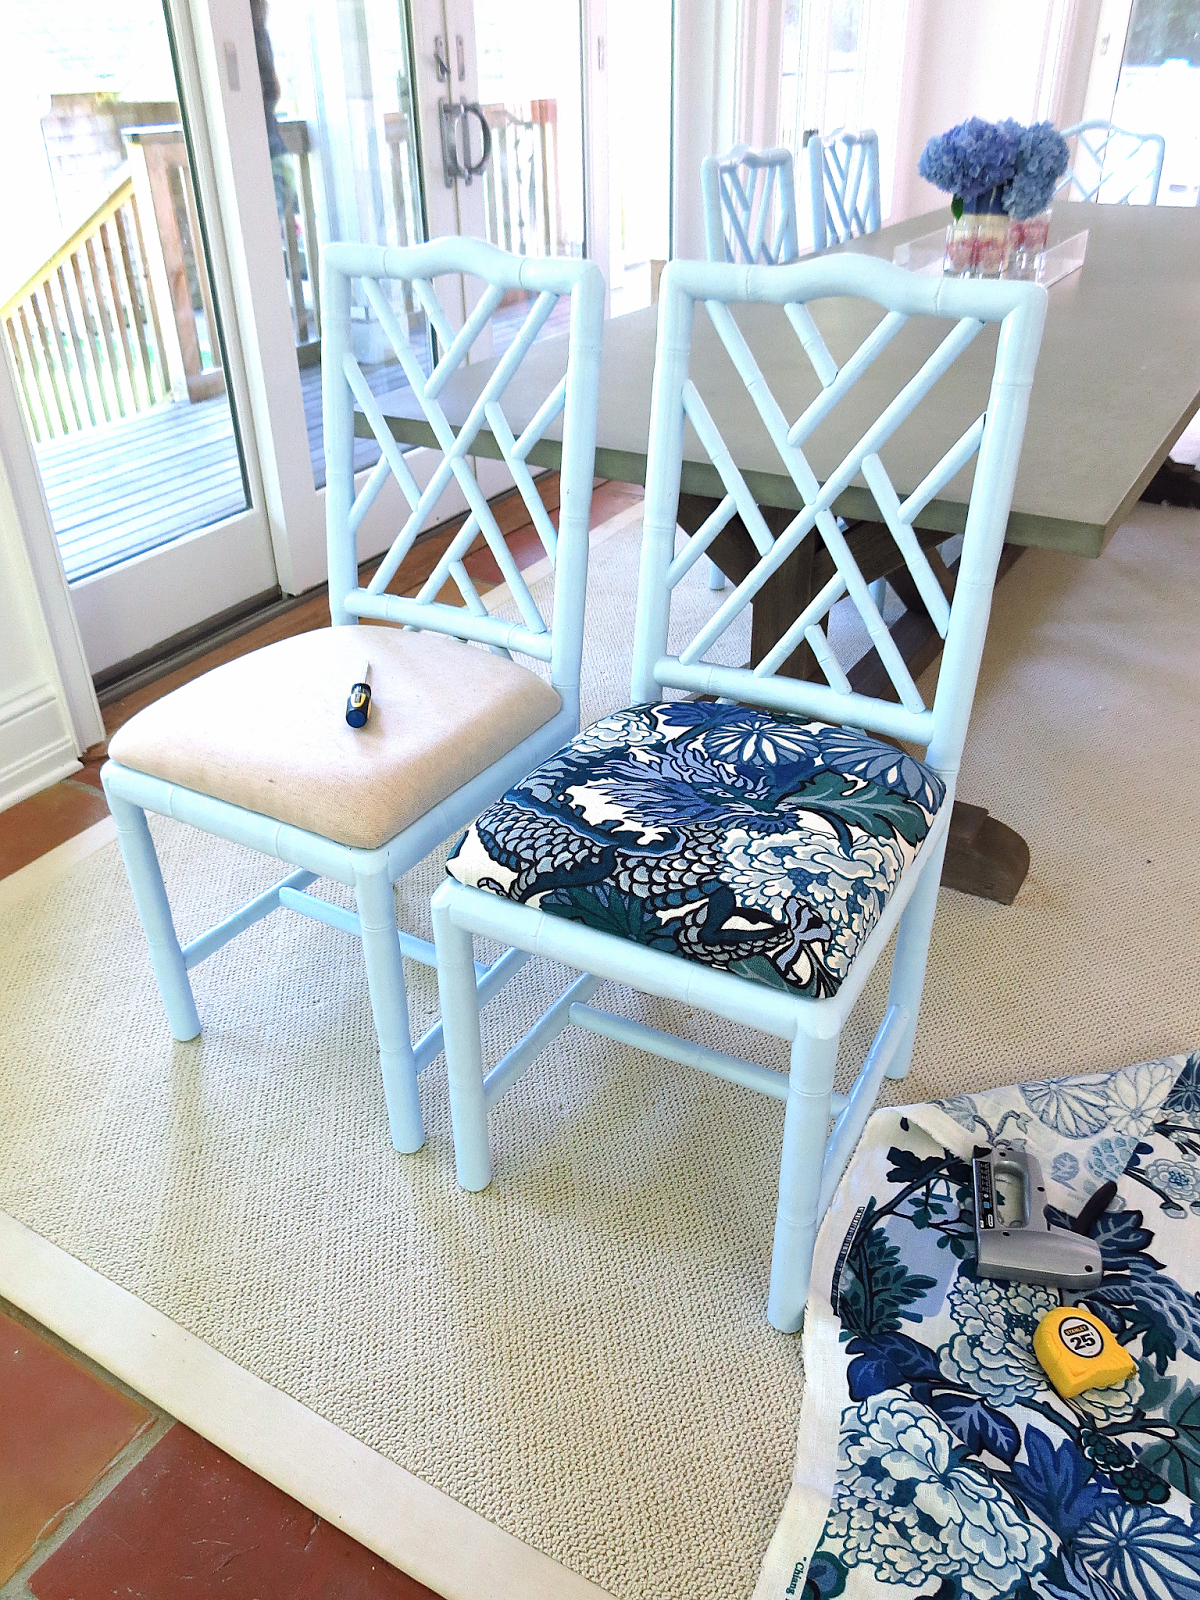
THE END RESULT! DIY DINING CHAIRS
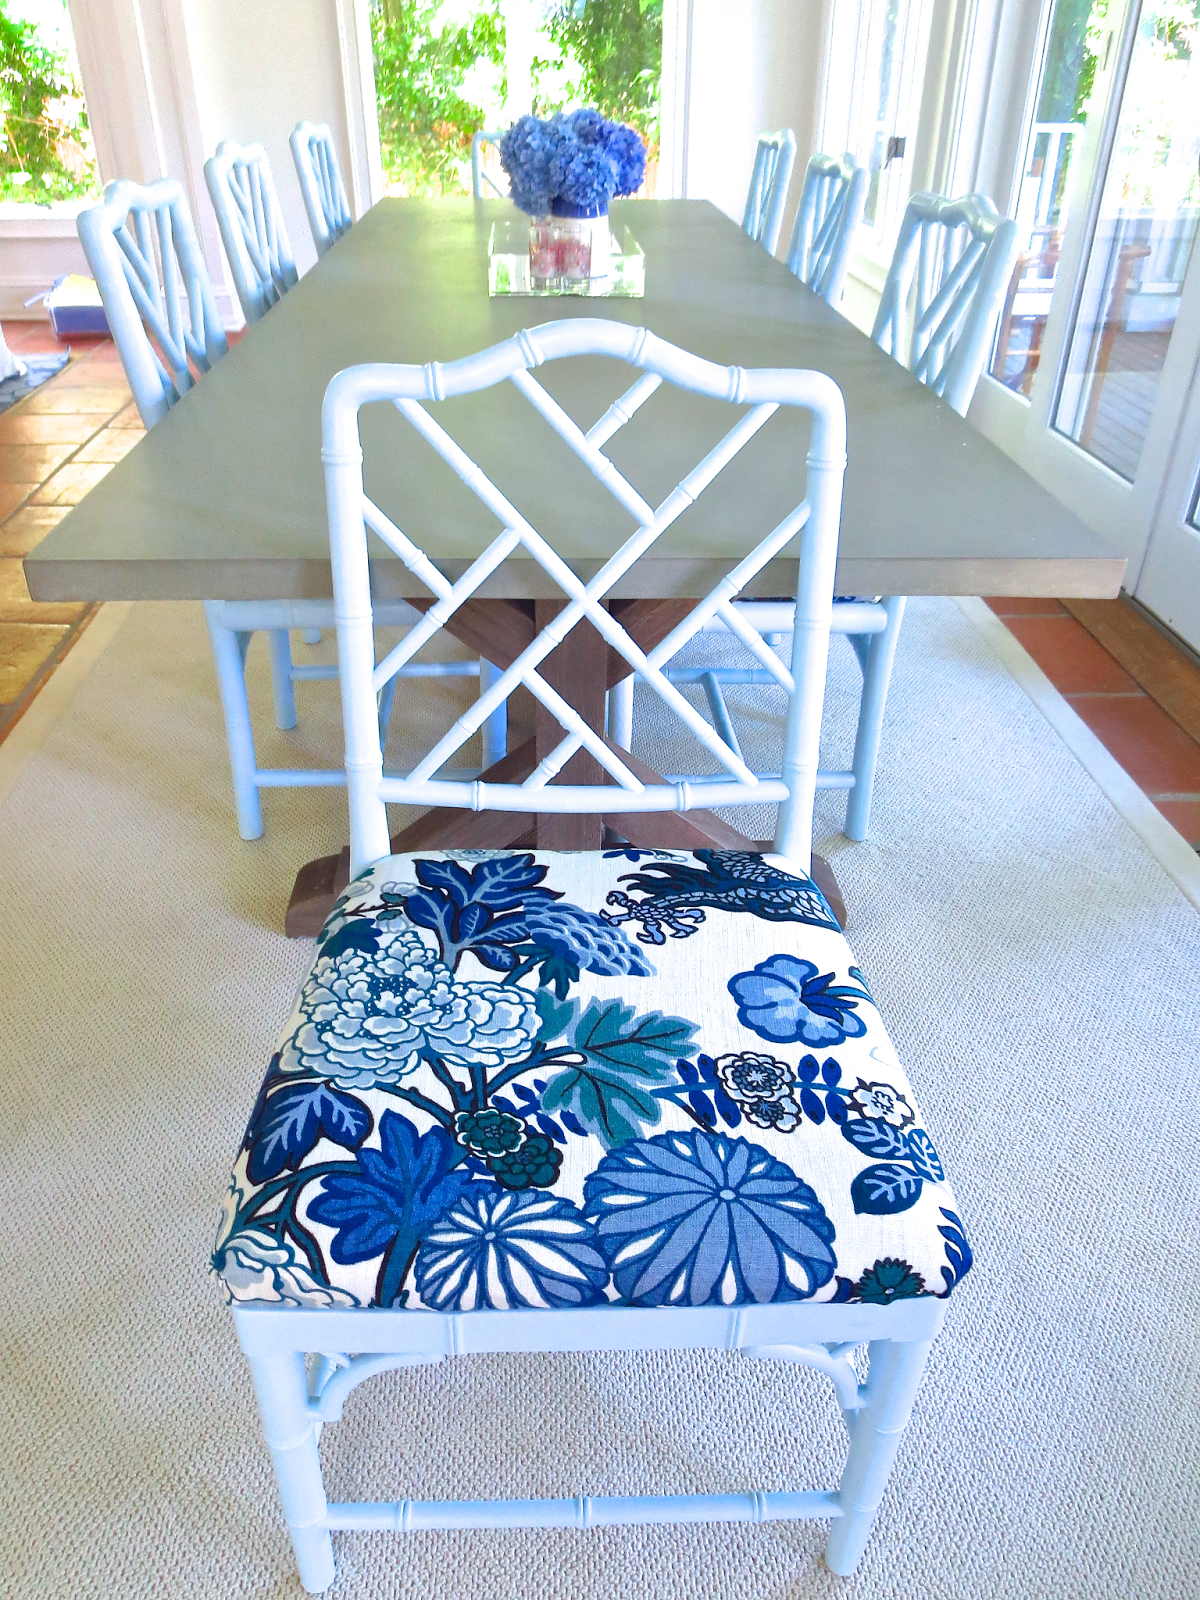
TRANSFORMING DINING ROOM CHAIRS
In the end, it was quite fun. Great time for me and best friend AM to catch up. During the process, AM’s husband stopped in to cheer us on (he is very nice). And her little son and daughter passed by a few times. He was a little perplexed to see Coco and their mom furiously at work on a DIY project. We turned on Scandal on Netflix cutting, screwing, and stapling and wondered what would happen with Olivia and the President. We talked, we laughed, and we took a break to style her outdoor area. It was so much fun and even a little therapeutic.
Later that evening, AM’s friends came over for dinner and we were able to show off our DIY dining chairs. Very gratifying…and now AM’s East Hampton dining room chairs look wonderful!
Can’t wait to go back for another summer dinner party!
Happy Monday! Good luck transforming your dining room chairs!
xo
Coco
P.S. Happy Bastille Day! My mom is in Paris with my aunt LB. Hope you are having a great Bastille Day!
P.P.S. Sign up to receive COCOCOZY blog posts via email. Fill in your email address in box on right column and COCOCOZY will come straight to you!
P.P.P.S. Remember to follow on Pinterest, Instagram, Facebook, Twitter and more!


Photos: All photos in this post by Coco of COCOCOZY

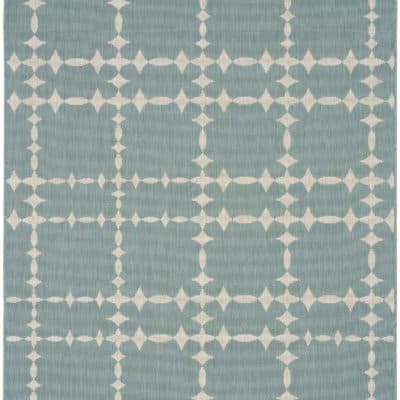




Looks like you and AM had fun while doing a fantastic job on these chairs. What a gorgeous room! Any idea where she purchased the rug? I appreciate the source so much if you know it. It looks so nice!
Hi there! AM got the rug from Capel Rugs. It is an indoor/outdoor rug. She had a custom size made.
What a simple and easy idea to get a different air to the living room 😉
zepedrorodrigues.blogspot.pt
Nice job! I love the color of the frames. Was that a custom mix?
Very pretty, I love how they go with the hydrangeas. Good job!