a
Mini Pumpkin Makeover
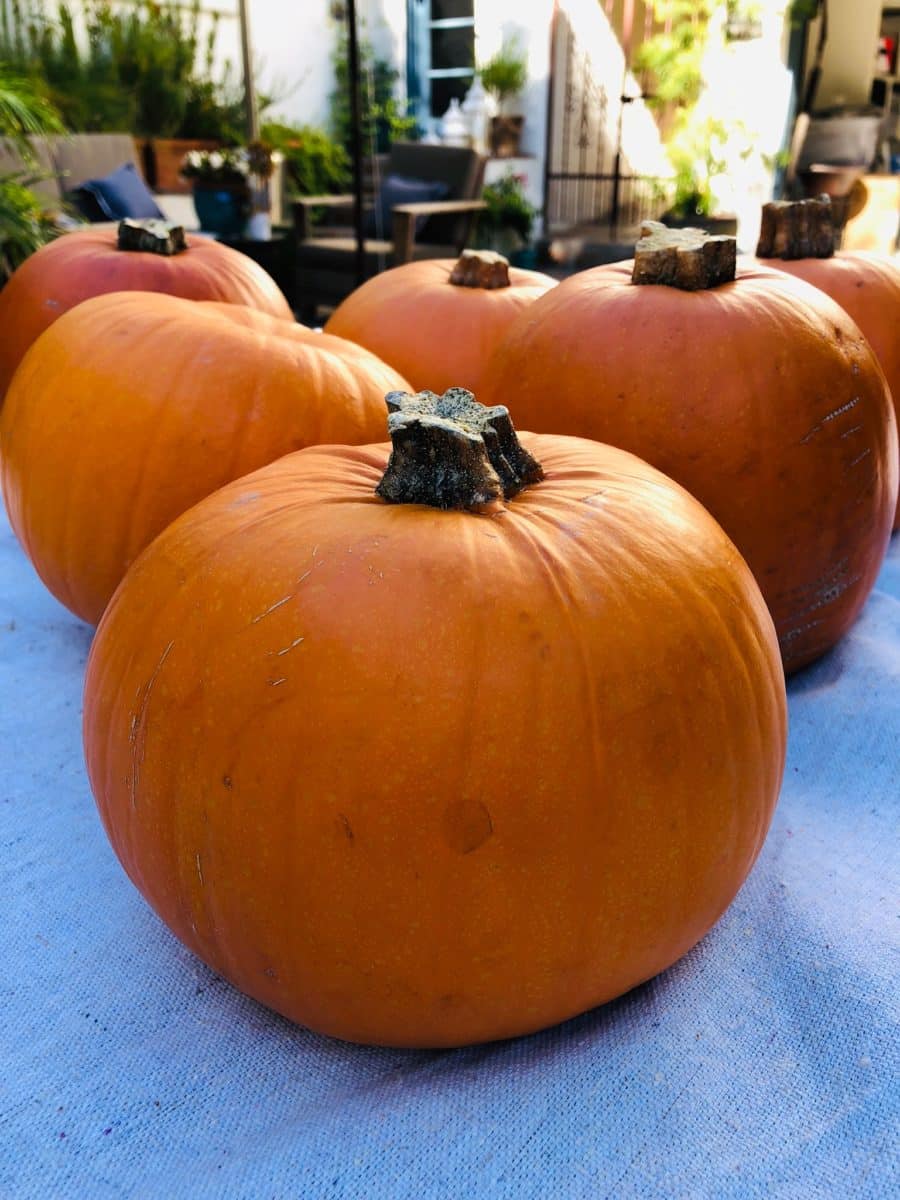
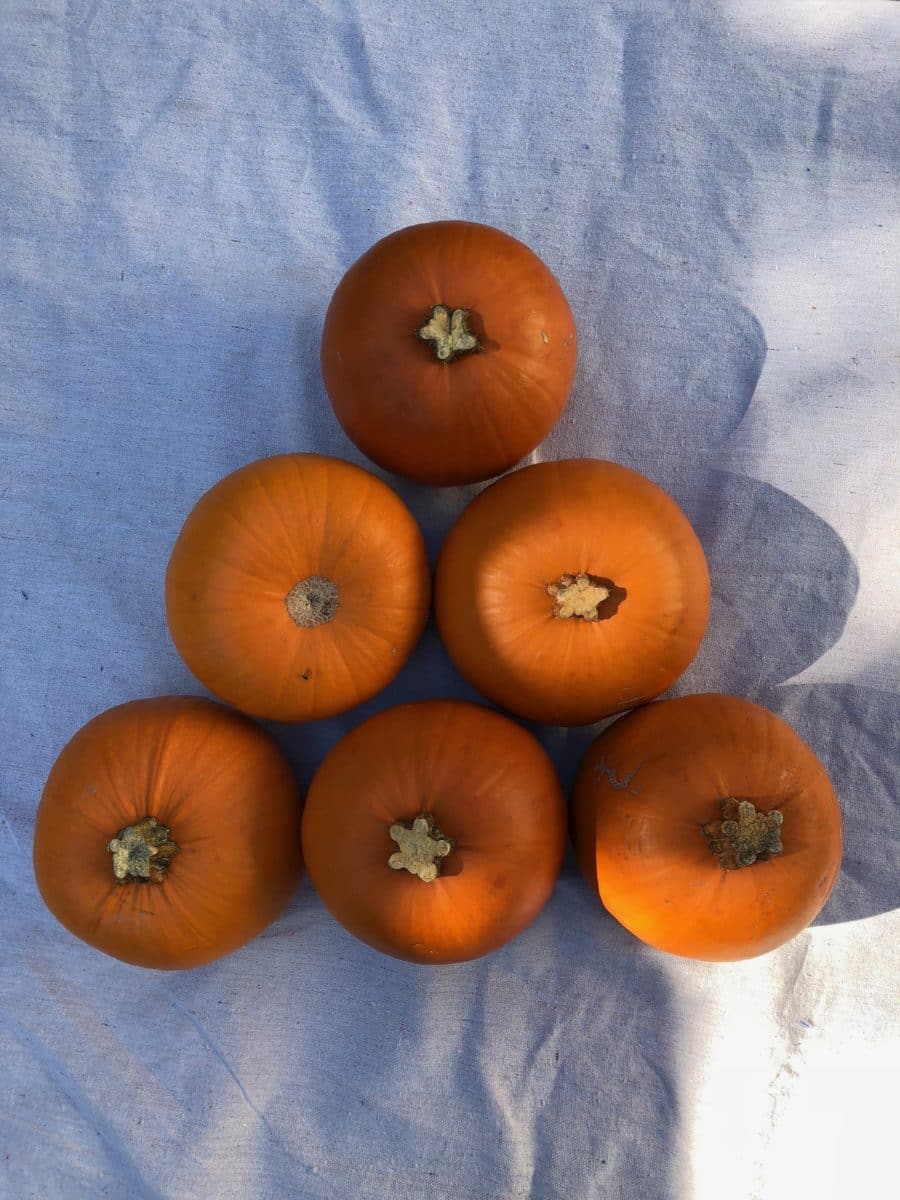
I started off with six mini orange pumpkins and laid them out evenly spaced apart to get a better visual.
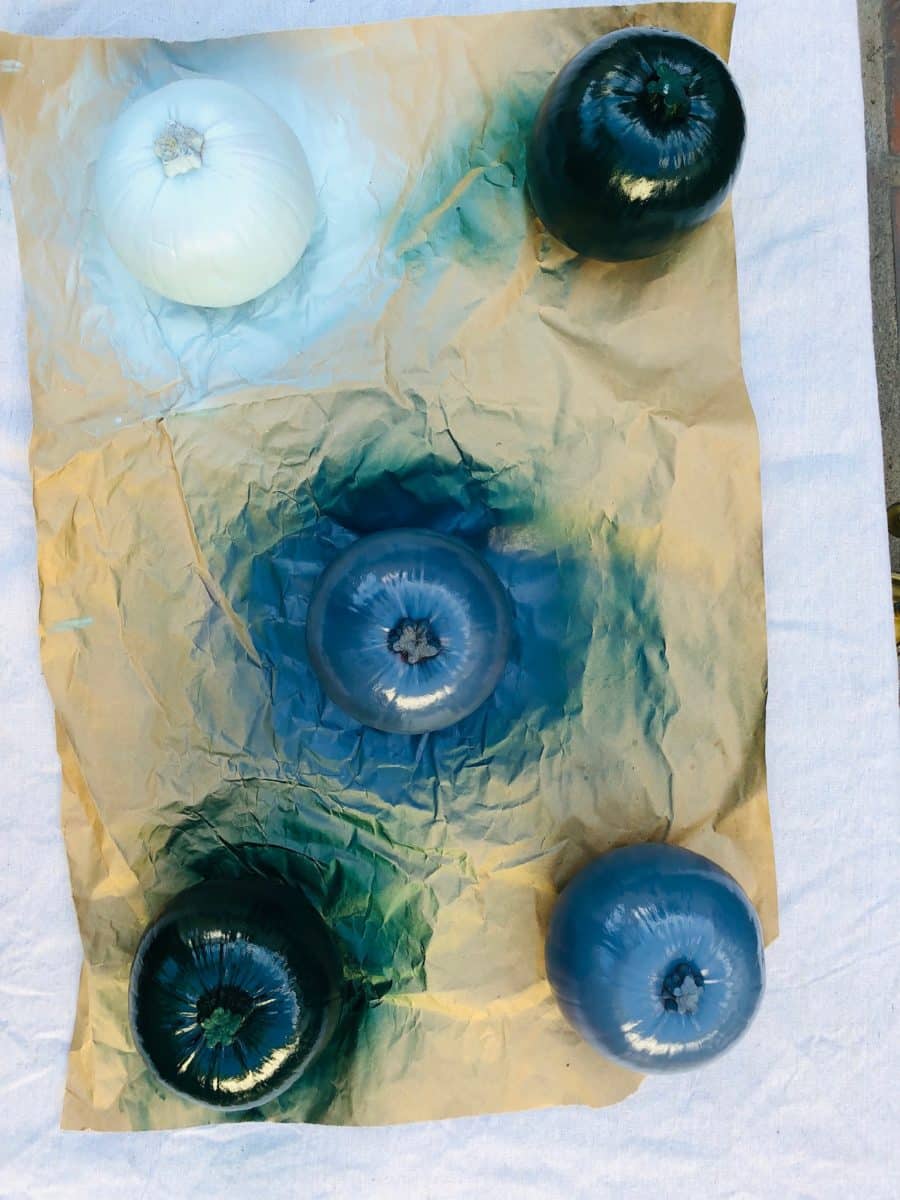
I made sure to place a drop cloth and then sheet of paper (or even cardboard would work) below the pumpkins when painting so as to not get any in my courtyard table. I think this is the perfect size for pumpkin decorations.
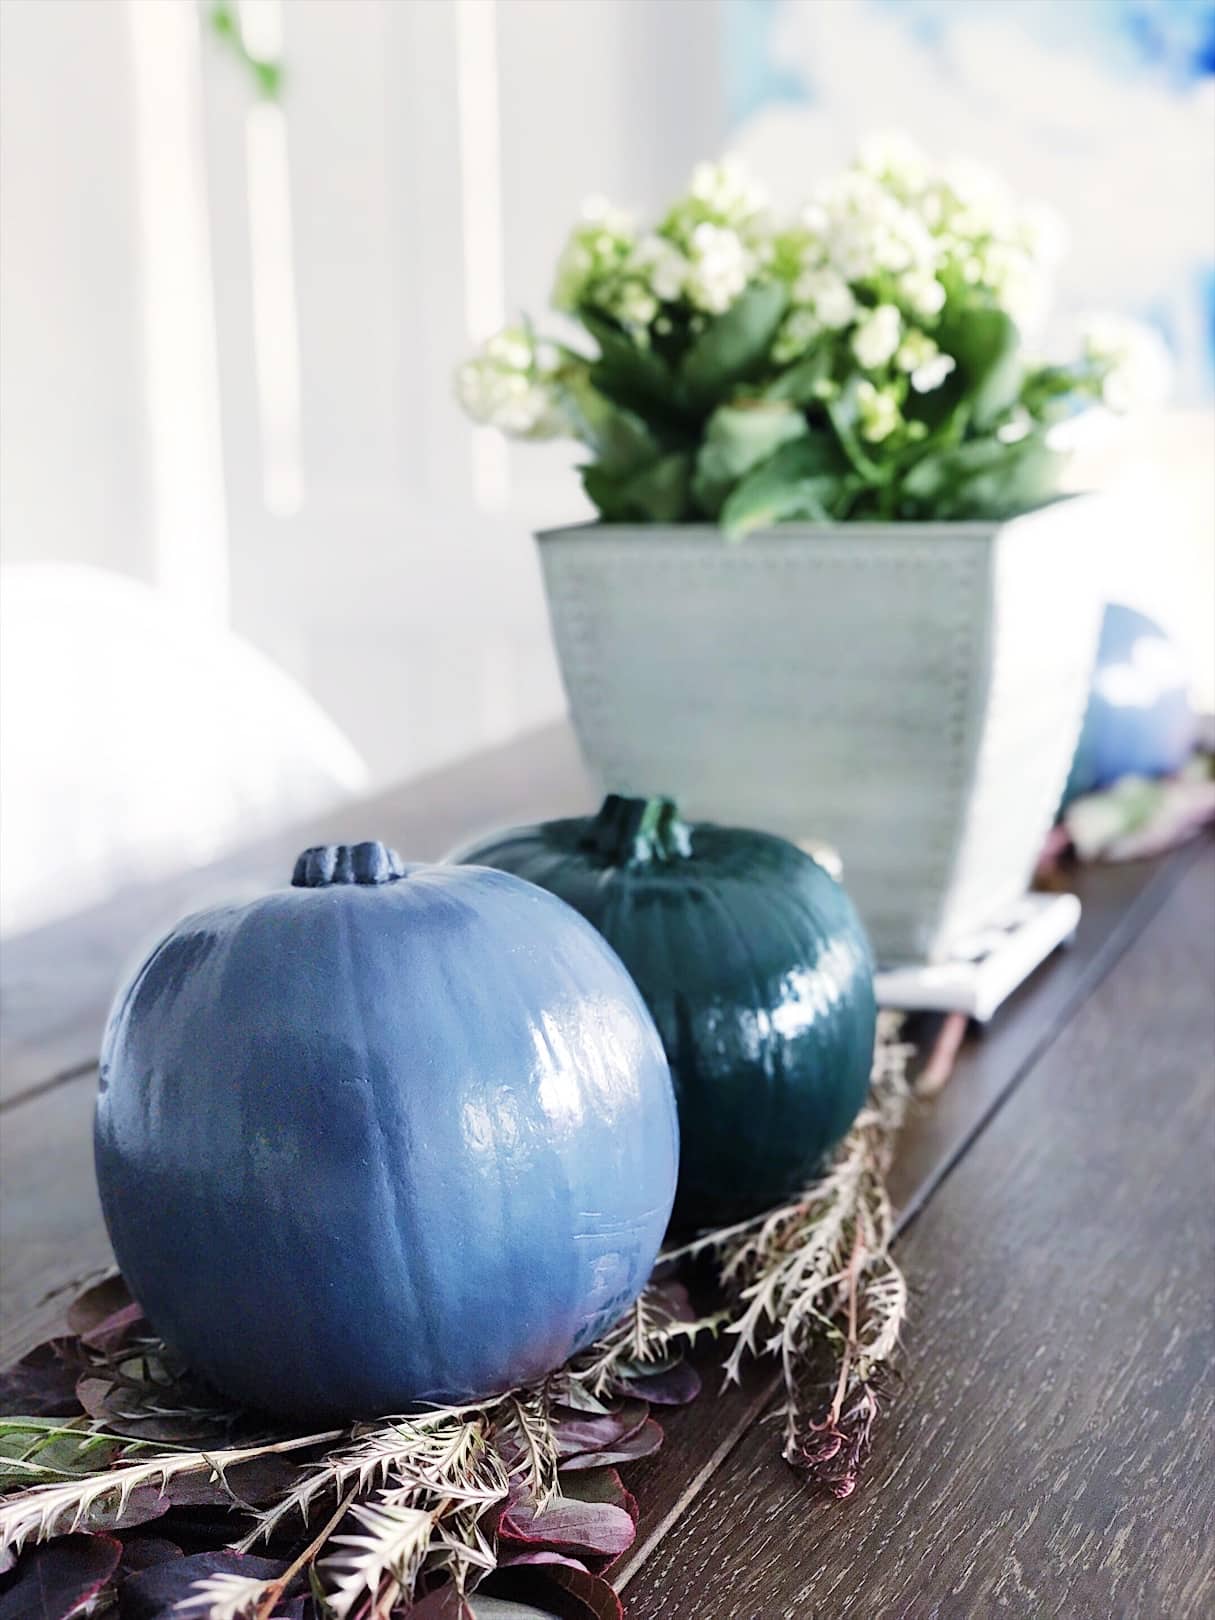
Next, I chose these three colors – shades of blue and green – because they would tie in great with my outdoor decoration in my courtyard and the trim on the house. They also blend well with my indoor decor too. Didn’t have a clue on where I might use them!
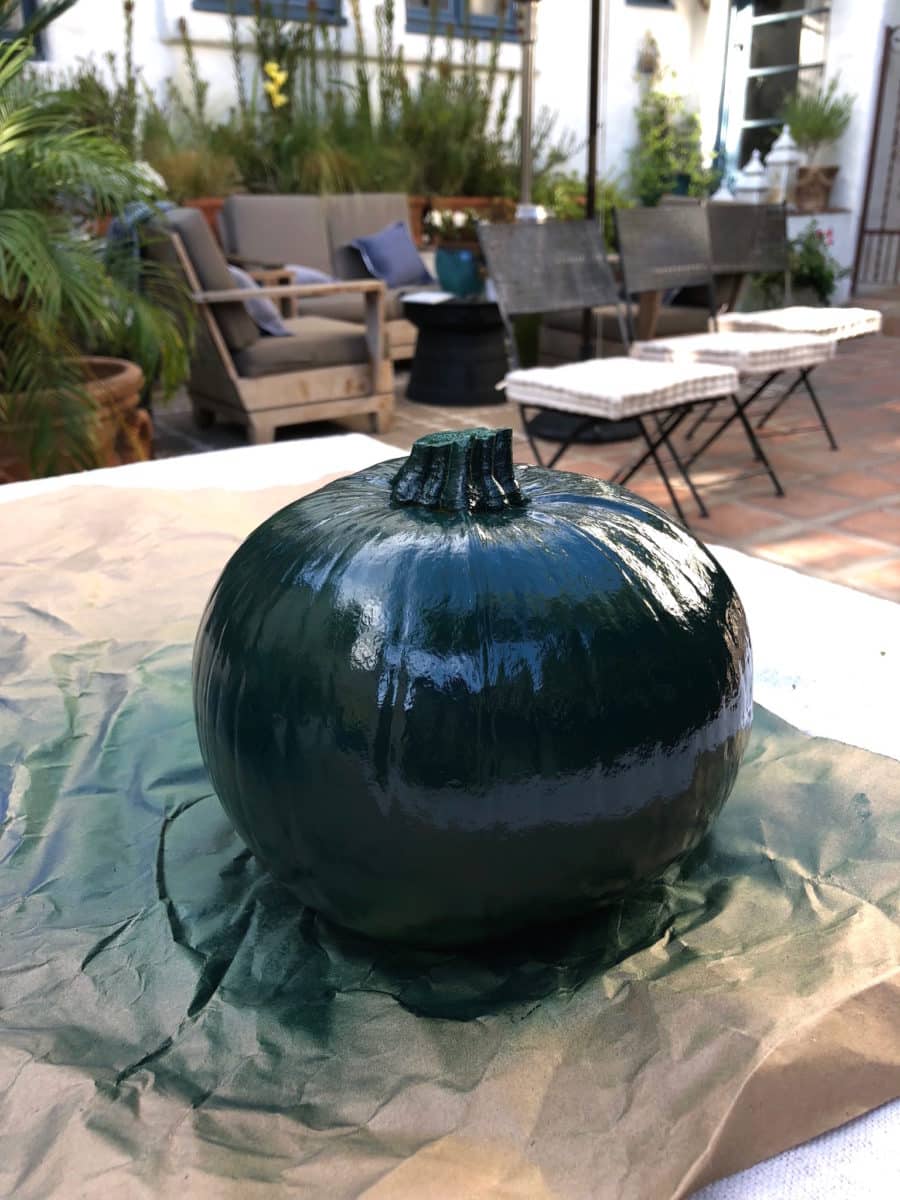
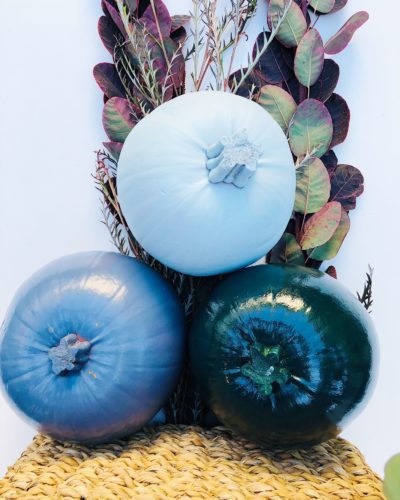
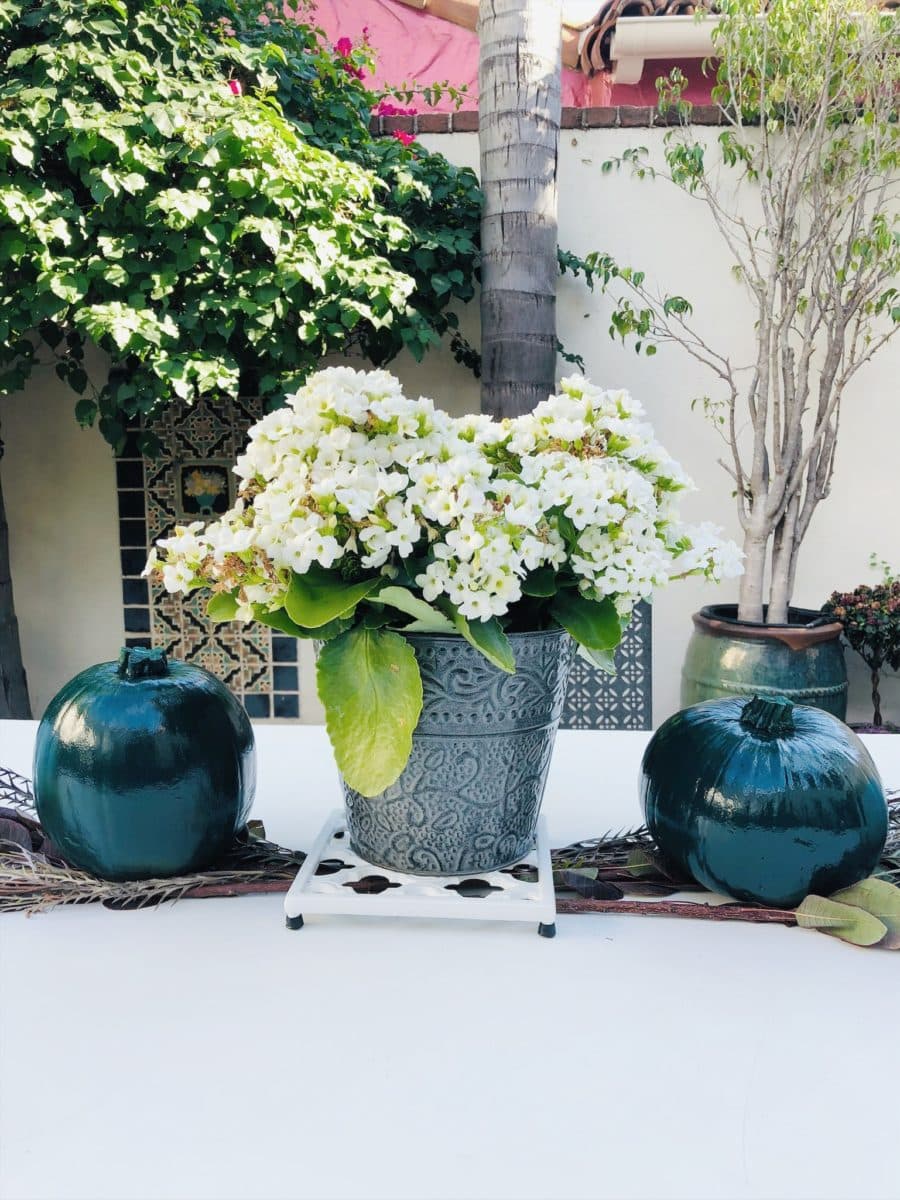
I love this deep hunter green color for pumpkins. I used a high gloss paint for this one.
Make sure to space the pumpkins out far enough apart so that the colors don’t overlap.
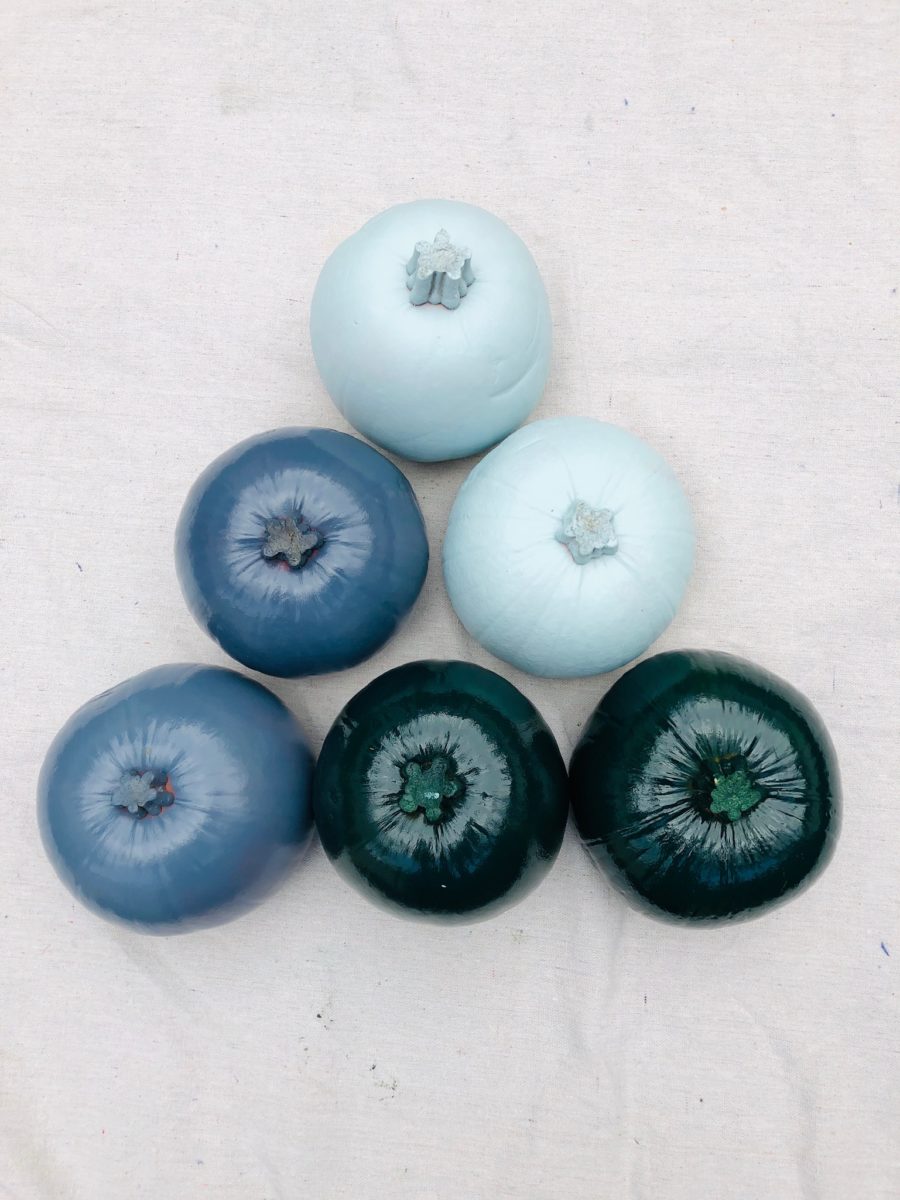
Here is my final color scheme – blues and greens. I love how the three shades play against one another! I used a mixture of high gloss, semi-gloss and matte finish paints to vary the look of each.
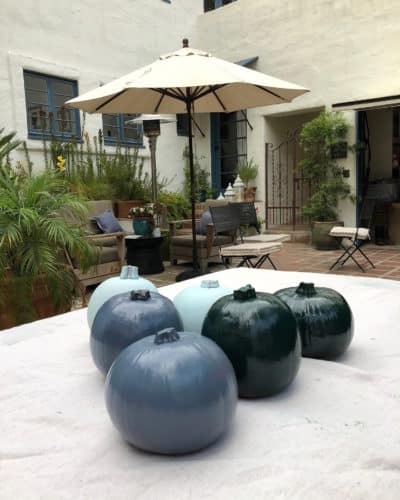
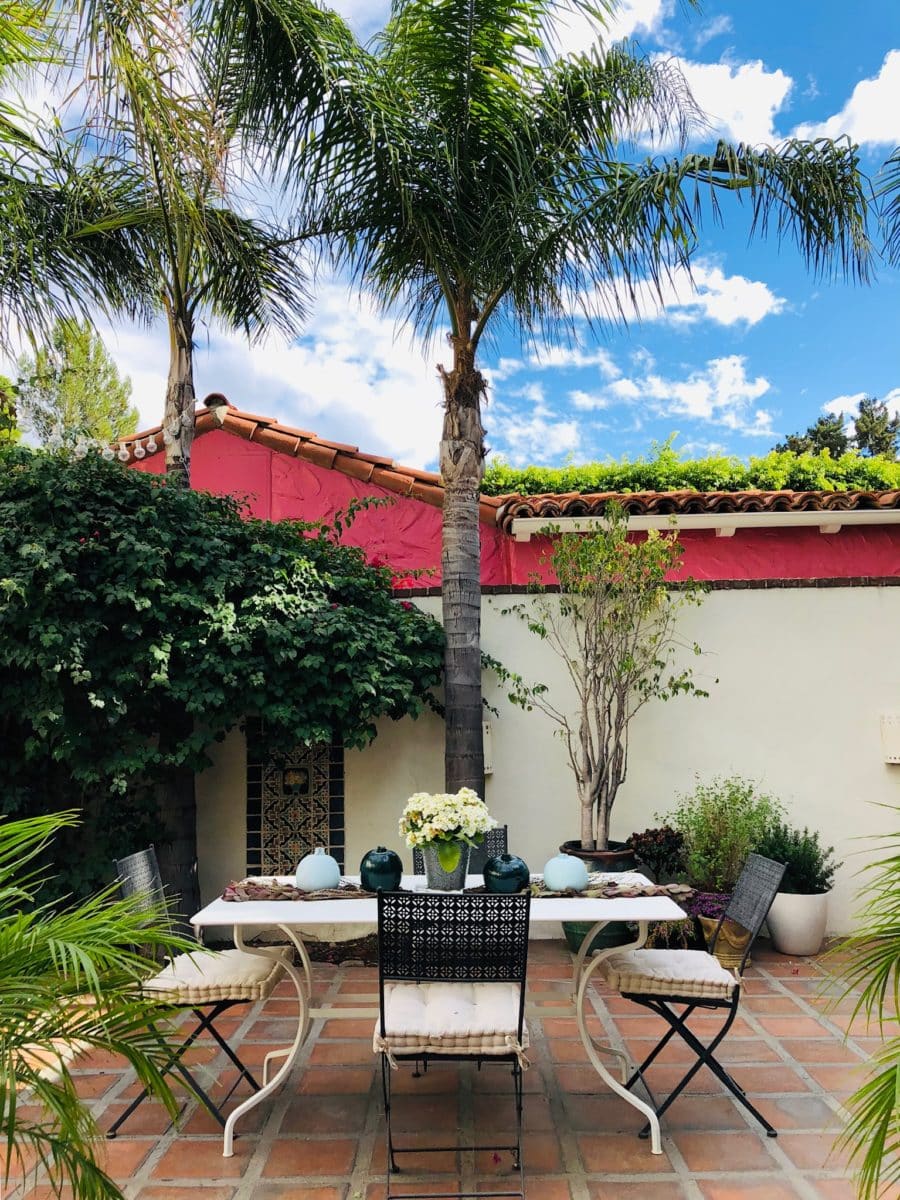
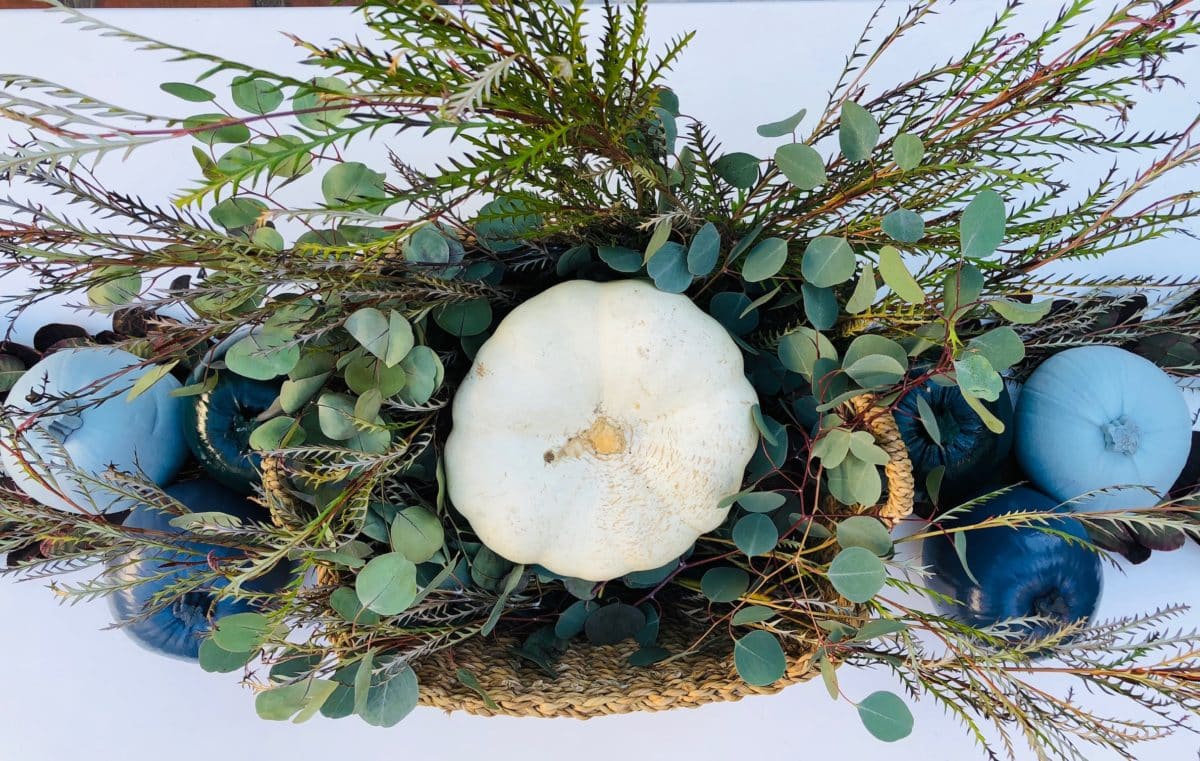
By placing them on top of some leaves, I used them as part of a centerpiece for my outdoor table. Even with a little bit of overcast, these bright mini pumpkins lit up my courtyard.
Another great way to add a quick fall decoration to your home is through white mini pumpkins. These are already a neutral color great for adding the autumn spirit to your home.
Overall, a quick and easy DIY way to add some fall decor that matches your outdoors.
Been such a lovely treat to see my little pumpkin fall decor every day. I wonder how long before I have to throw the pumpkins away?
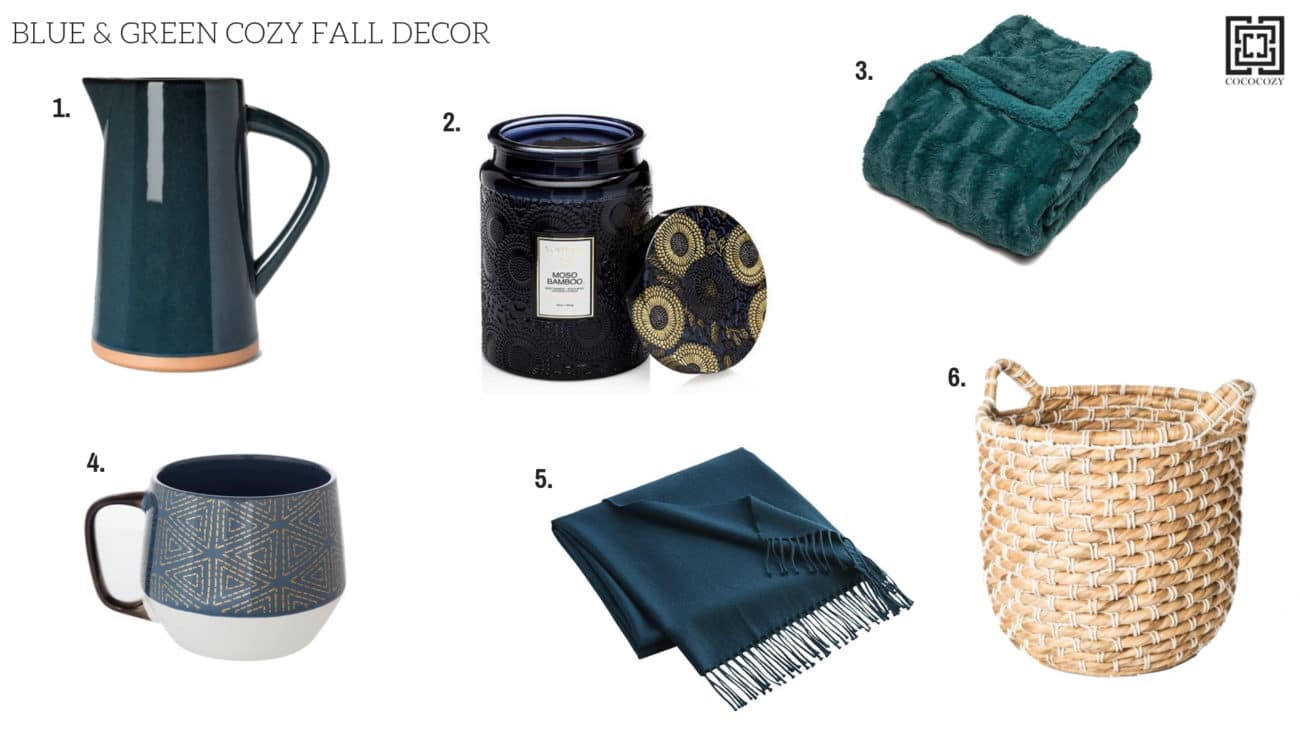
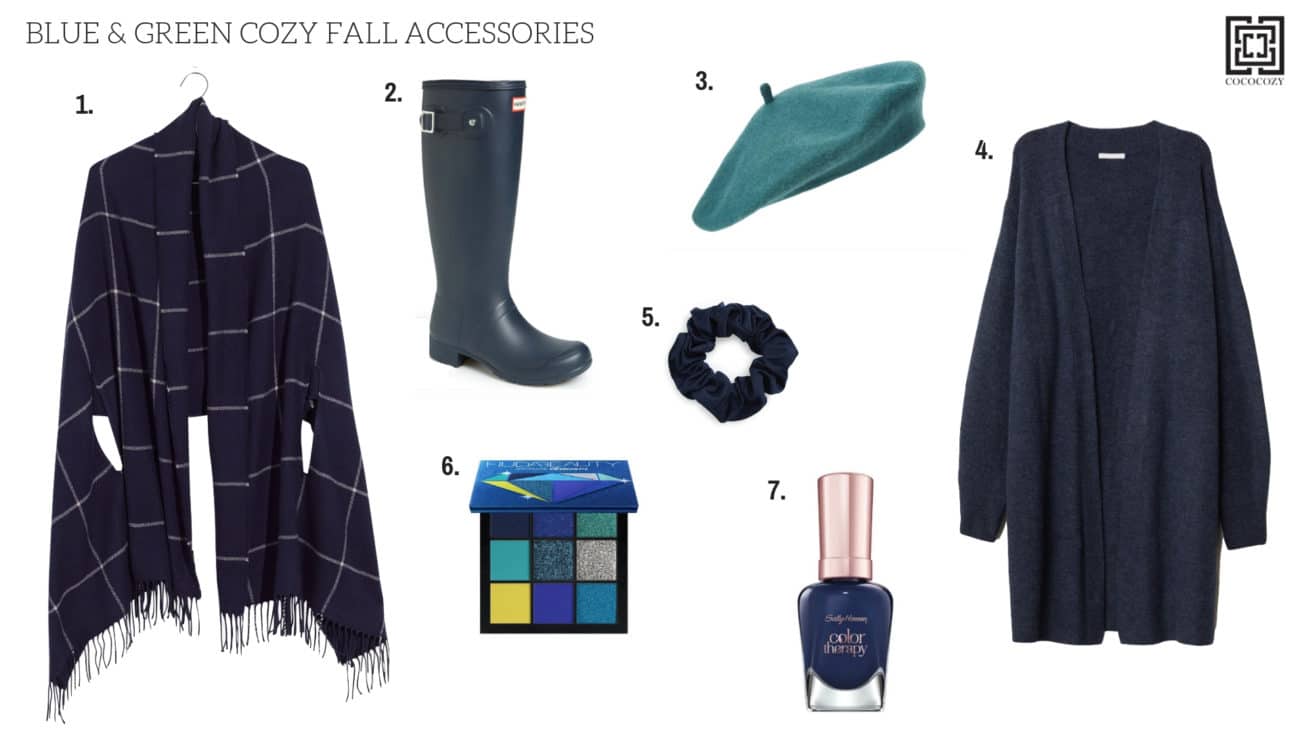
Cozy Fall Ideas
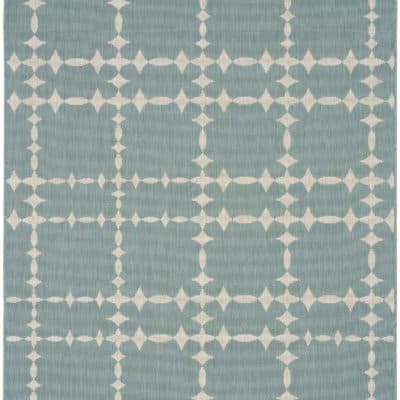
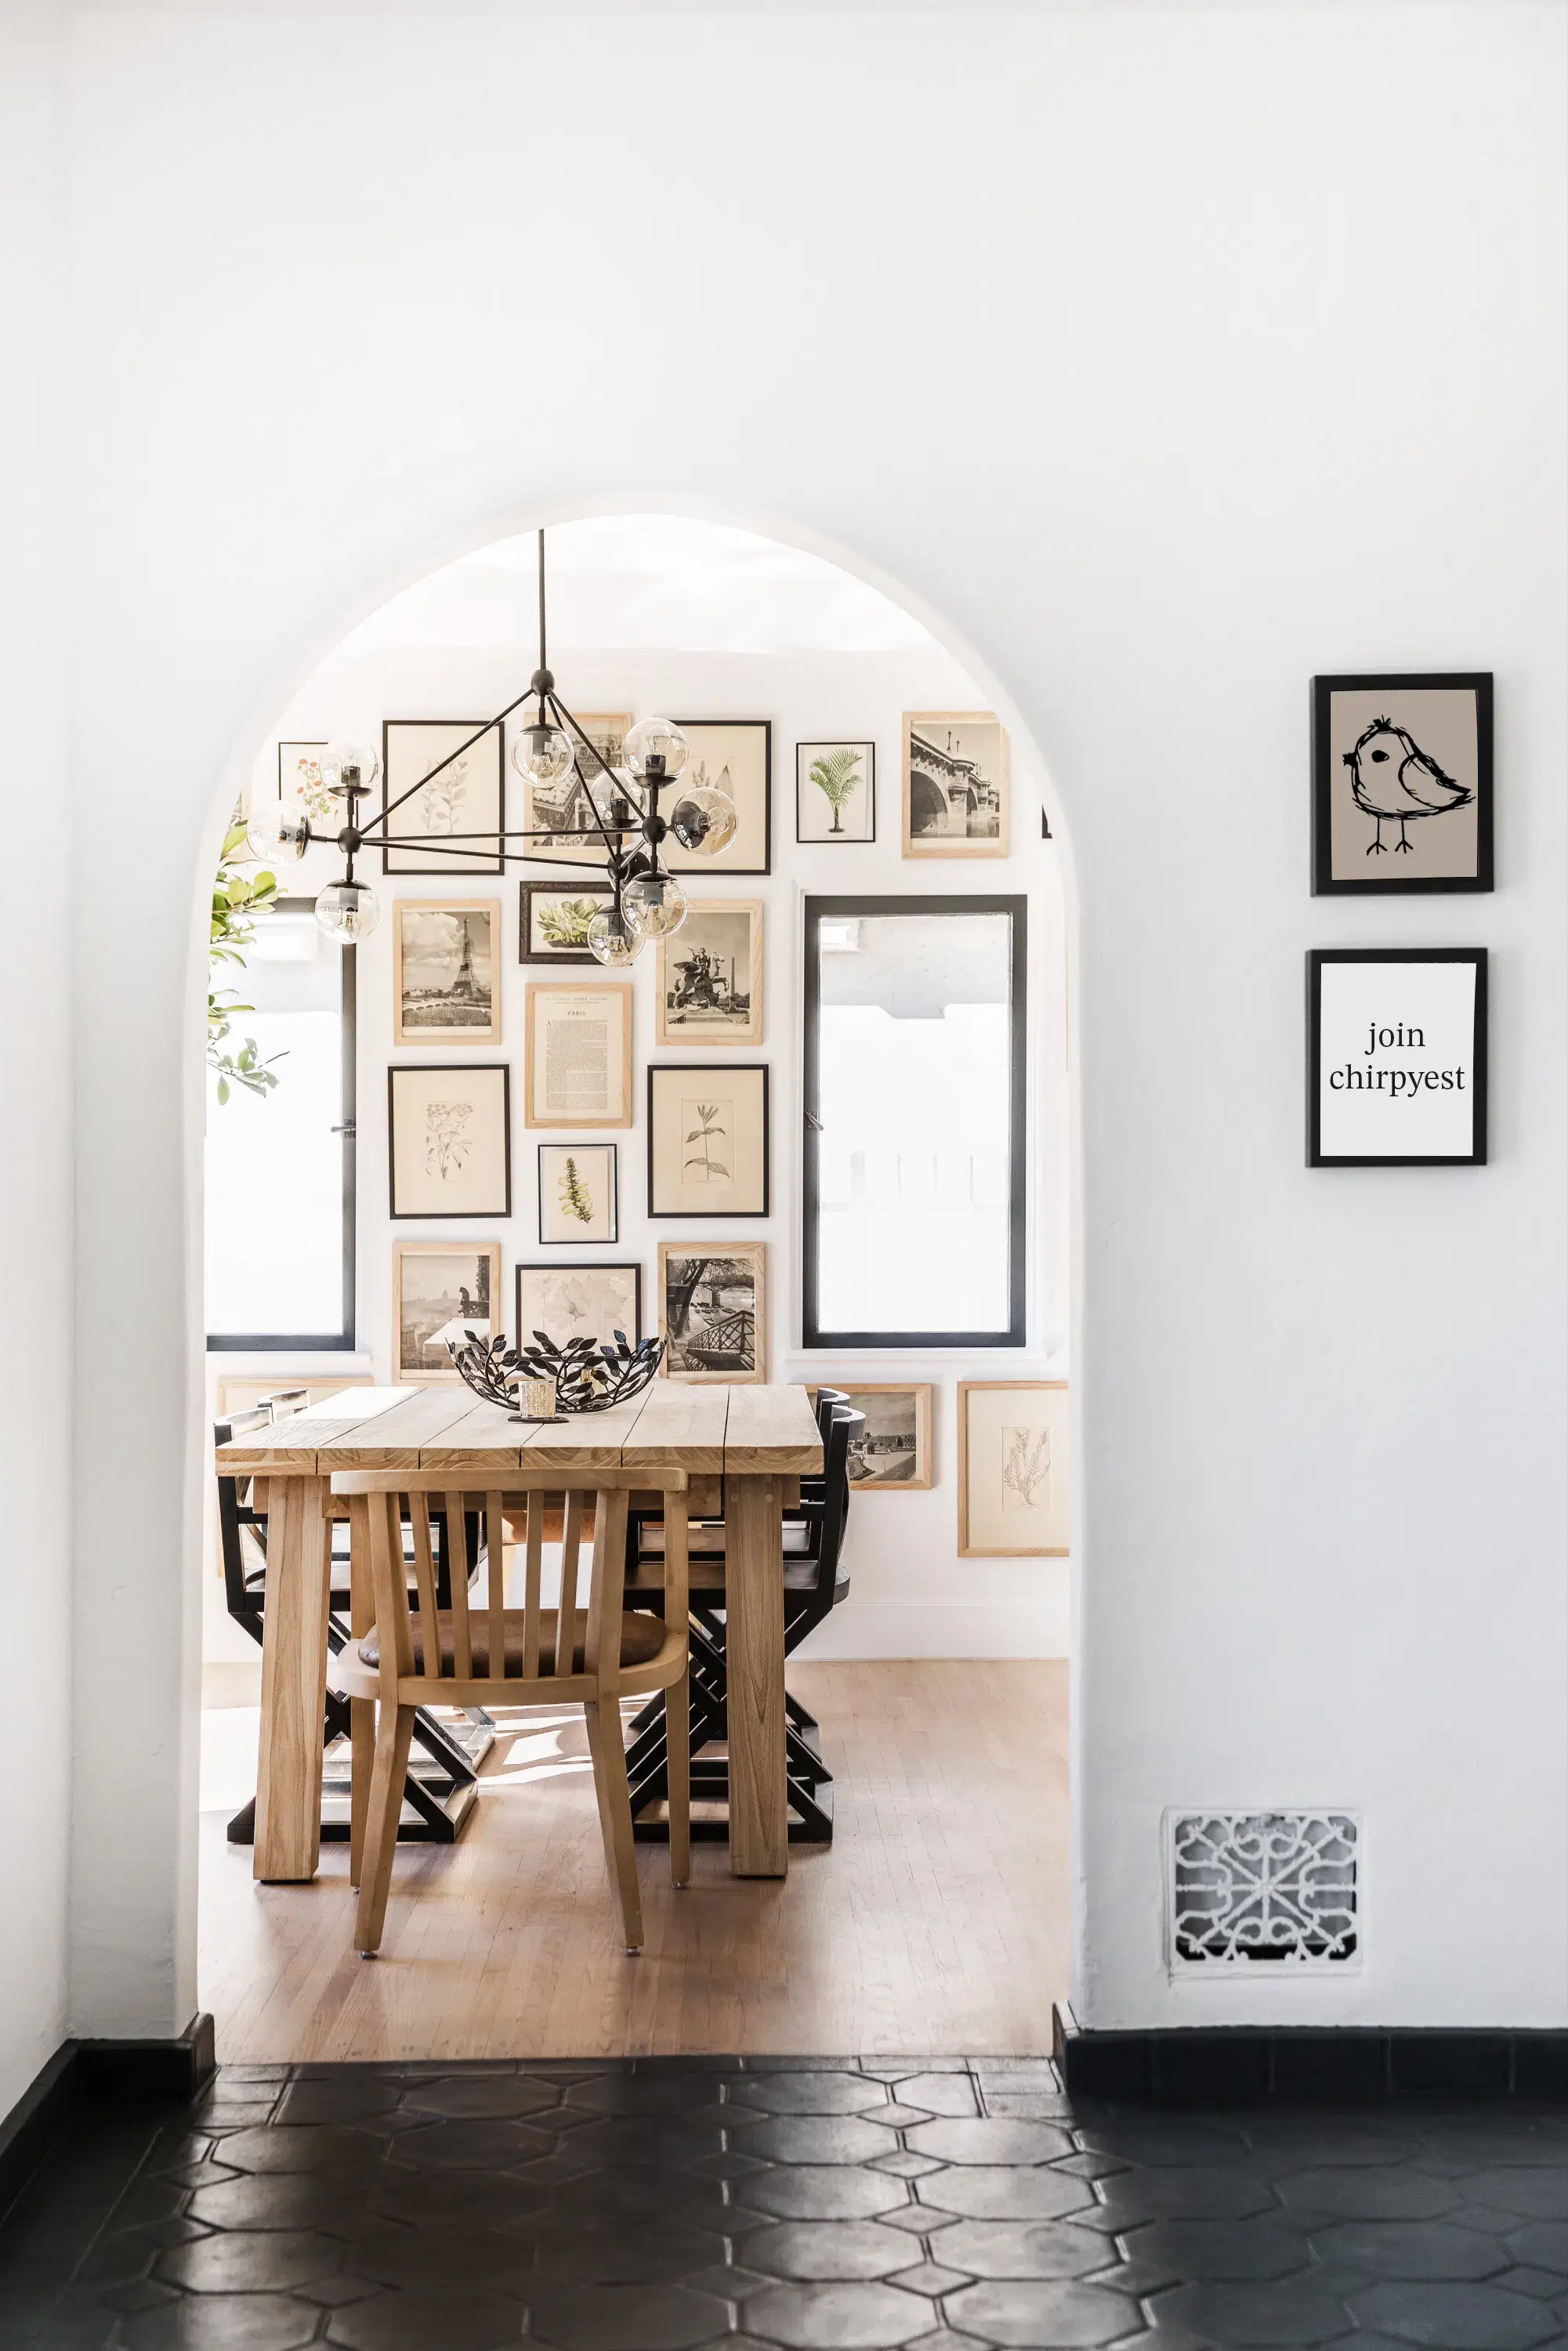
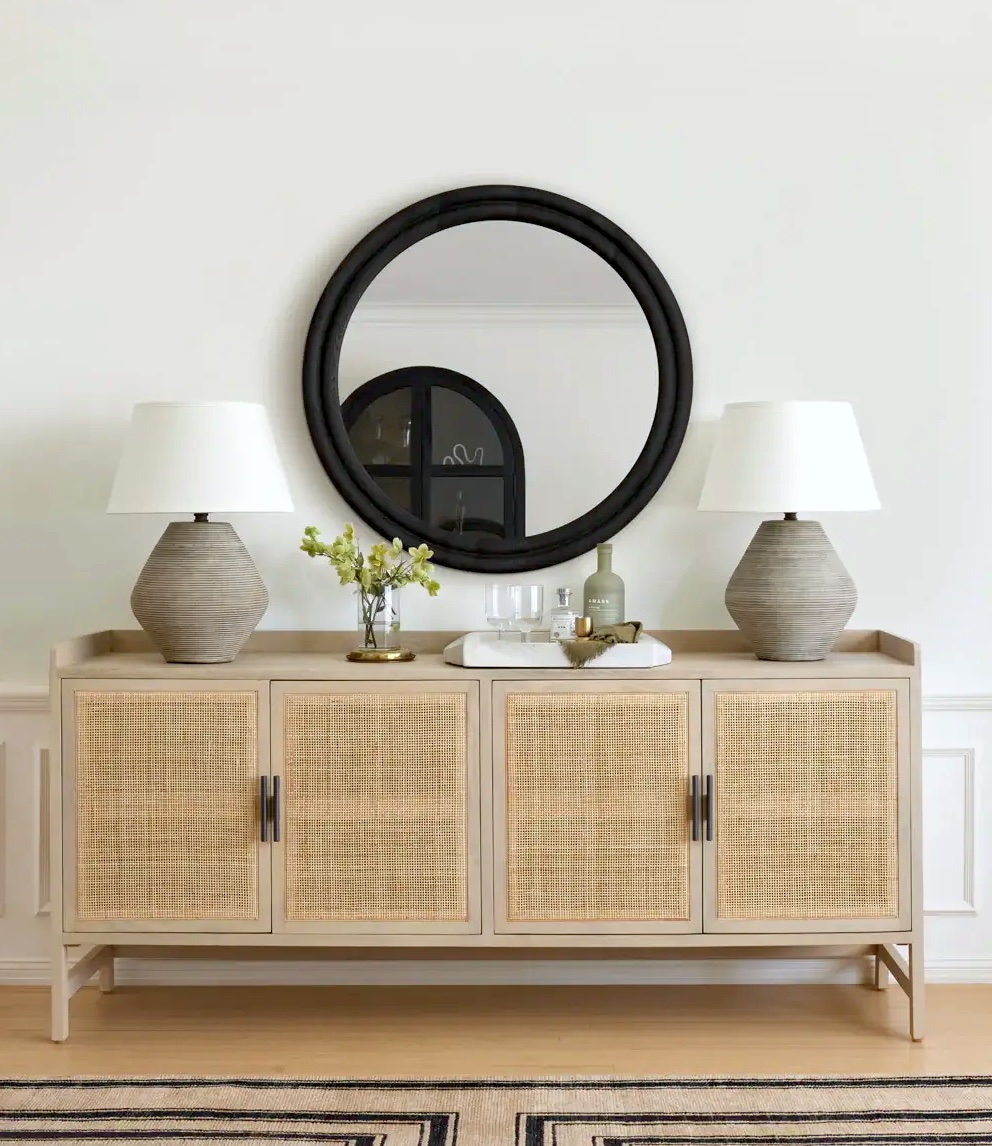
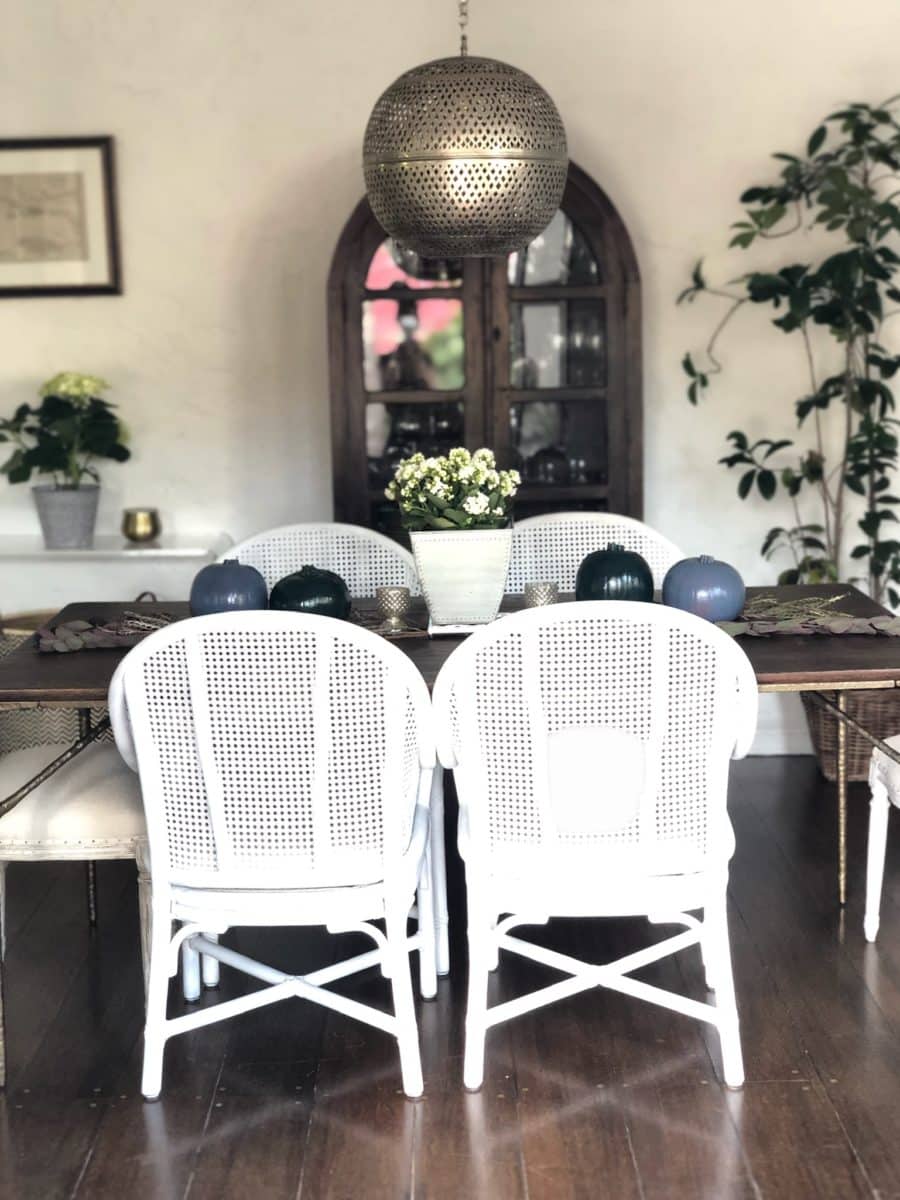
I love decor and accessories that say fall is here but not traditional browns and oranges. Here are some green & blue fall ideas to have a cozy fall!
What’s your favorite mini DIY for fall?
Take Care!
xo